
Spooky season is here! Now, you get a chance to use that old jar for Halloween decoration.
You don’t have to get your Halloween decorations from a store. You can make them and reuse them next year by adding or subtracting more items. That old empty jam jar or pickle jar can be renovated, instead of throwing it away. This is an easy, inexpensive and beginner-friendly project. Turn that glass jar into a spooky little lantern this Halloween.
If you have many such jars, you can try making a collection and decorating your shelf or dining table or use them as a gift. You can make one in a few minutes, and you can change the design depending on what you already have at home.
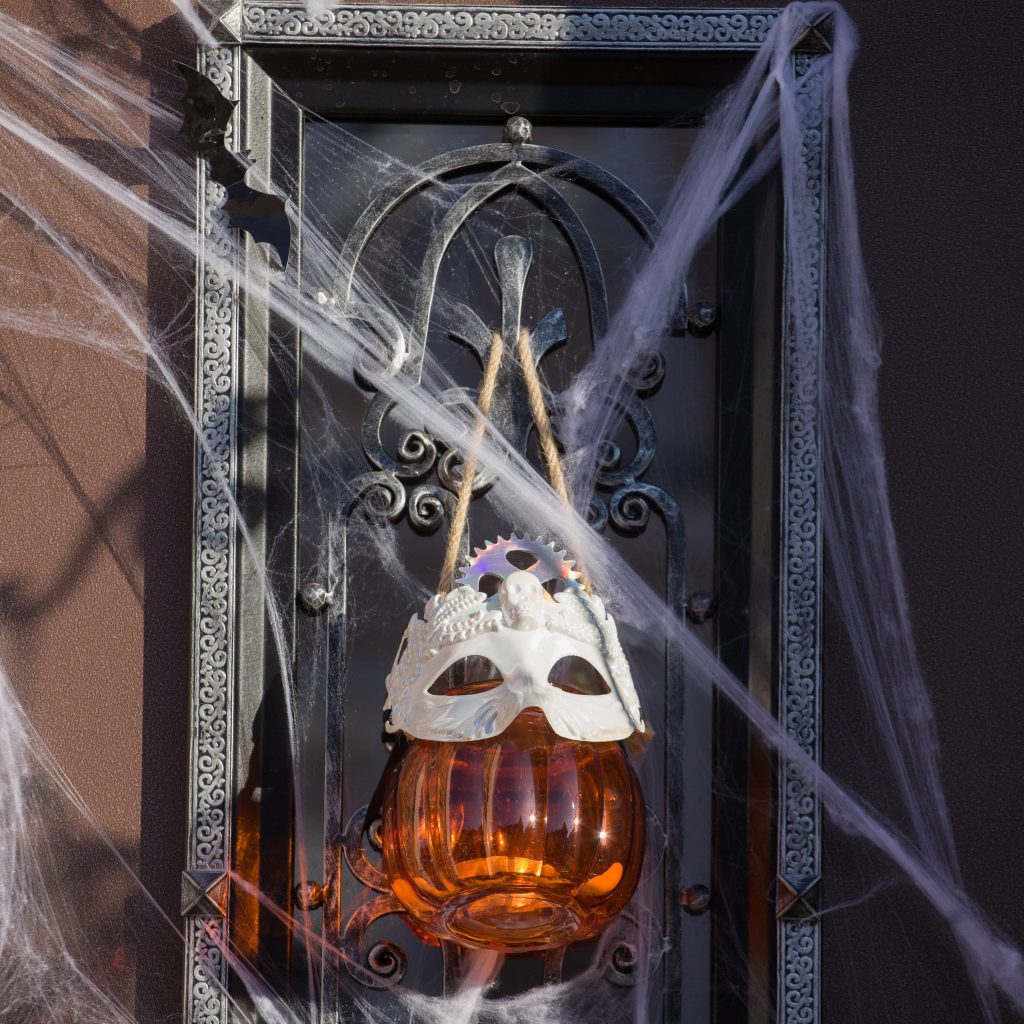
What You’ll Need—
You don’t need expensive craft supplies for this project, just basic supplies, like
- Clean empty glass jars
- LED tealights or small LED candles
- Acrylic paint or suitable glass paint
- Paintbrushes
- Black marker
- Black and orange paper
- Scissors
- Glue
- Tape
- Ribbon or jute
- Small artificial leaves or other decorative materials (Optional)
Clean Your Old Jars
Start by removing any labels from the jars. Wash them thoroughly with warm water and dish soap to remove leftover food, oil or sticky residue. Allow them to dry completely before decorating.
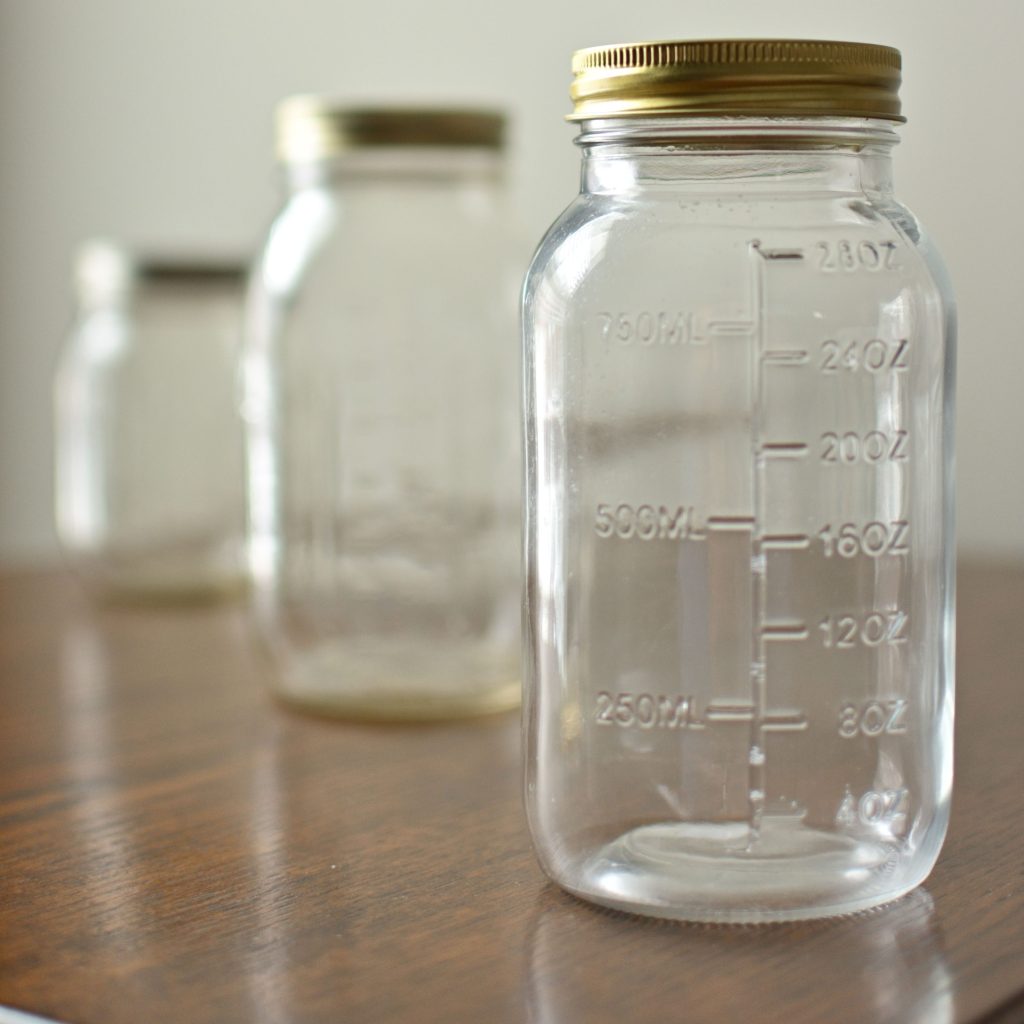
If there is stubborn adhesive left behind, use an appropriate household method to remove it and wash the jar again afterward. The surface of it should be clean and dry before you start painting.
Choose Your Halloween Design
Before reaching for your paint, decide what kind of lantern you want. Here are some easy ideas you can try:
- Ghost Lantern—White jar with black ghost face
- Pumpkin Lantern—Black jar with orange pumpkin face
- Spider Lantern—Paint the jar in any dark color with paper spider decoration
- Bat Lantern—Clear jar with black bat silhouettes
- Spooky Silhouette—Clear jar with black paper shapes
You can make every jar different or create a matching set, according to your creativity; these are just ideas.
Make a Simple Ghost Jar
This will probably be one of the easiest designs for beginners. Paint the outside of your jar white and let it dry completely. Once dry, draw two black eyes and a small mouth, and don’t worry about making the face perfect.
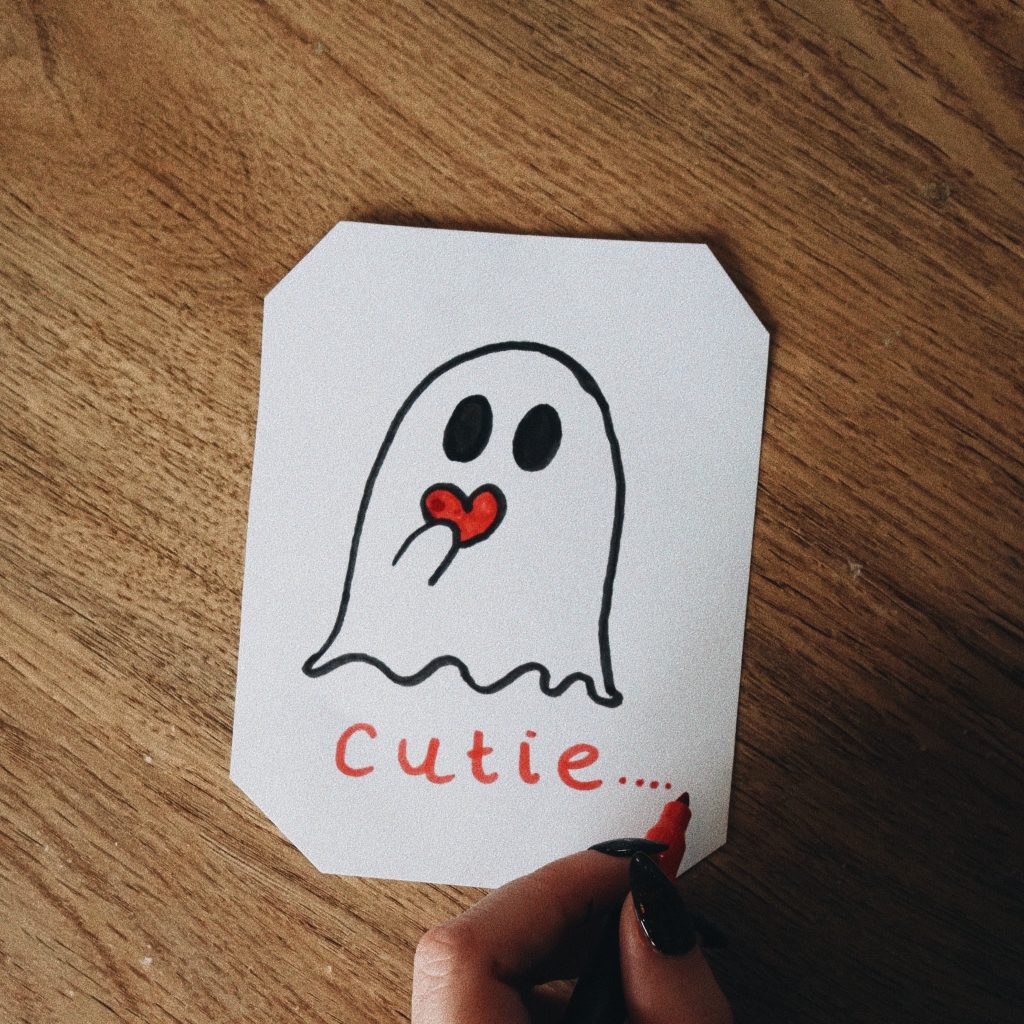
In fact, try making the expressions slightly different if you’re creating several jars. You could make a happy, surprised or sleepy ghost. You can make a collection of different faces, which makes the display much more fun.
Create a Pumpkin Lantern
For a classic Halloween look, turn your jar into a pumpkin and paint the outside black. After drying, make a simple orange pumpkin face. You can make triangle eyes, a small nose and a crooked smile.
If painting the entire jar feels like too much work, you can instead use orange paper cut-outs on a clear or black-tinted jar. This also makes the project easier to change later.
Try a Bat Jar
For a slightly different look, leave your glass jar clear and cut several small bats from black paper. Stick the bats to the outside of the jar or create a paper sleeve around the jar with bat shapes cut into it.
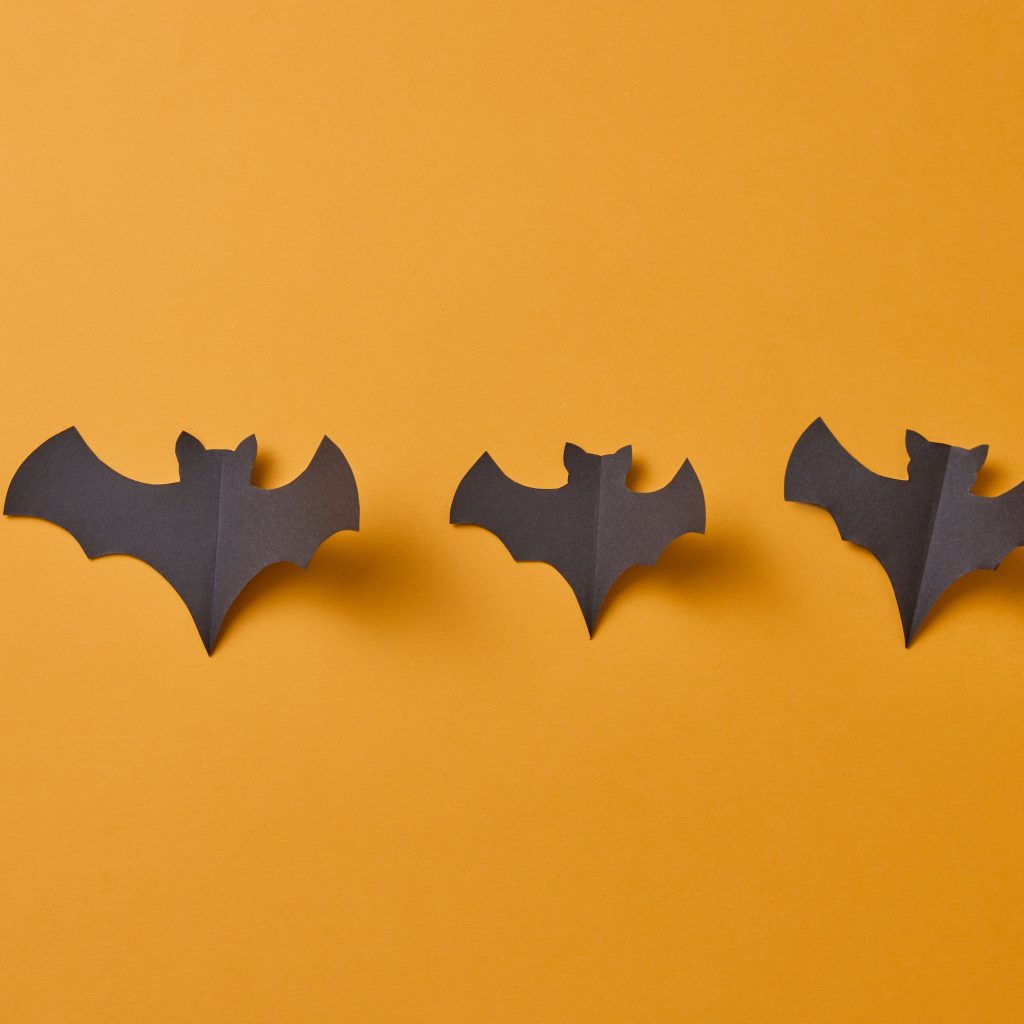
When the LED light shines through the gaps, you’ll get a simple Halloween silhouette effect. This technique will also work with cats, spiders, pumpkins, haunted houses, stars and bare tree branches.
Make a Spider Jar
Cut a few small spiders from black paper and stick them around outside of your jar. Add thin white or black lines to create a simple web pattern. For an even easier version, you can draw the web directly on the outside with your suitable marker.
You can keep your design simple and have a few spiders crawling around the jar that will look more effective rather than covering the whole surface.
Write a message on Spooky Silhouette
If you want something different, you can try this one. Turn your jar into a Halloween sign. Paste words on the clean jar like “Boo,” “Spooky,” “Eek,” “Trick or Treat,” and “Enter if you dare.
Write the message directly on the jar using a suitable marker, or you can even cut the letters from black paper. If you’re making several jars, give each one a different word and arrange it on the shelf.
Add a Little Fabric or Jute
After you have created your Halloween jar with the basic thing, now you need to give it a few more tweaks to make it look unique and personalized. If you like rustic decorations, you can add a small piece of jute or ribbon around the neck of the jar.
Black, orange, brown or natural jute will all work well with Halloween colors.
You can also create a small paper tag shaped like a pumpkin, bat or ghost and add it.
Safety Tip: Keep fabric, jute, ribbon and other flammable materials well away from any real flame.
Put an LED light inside
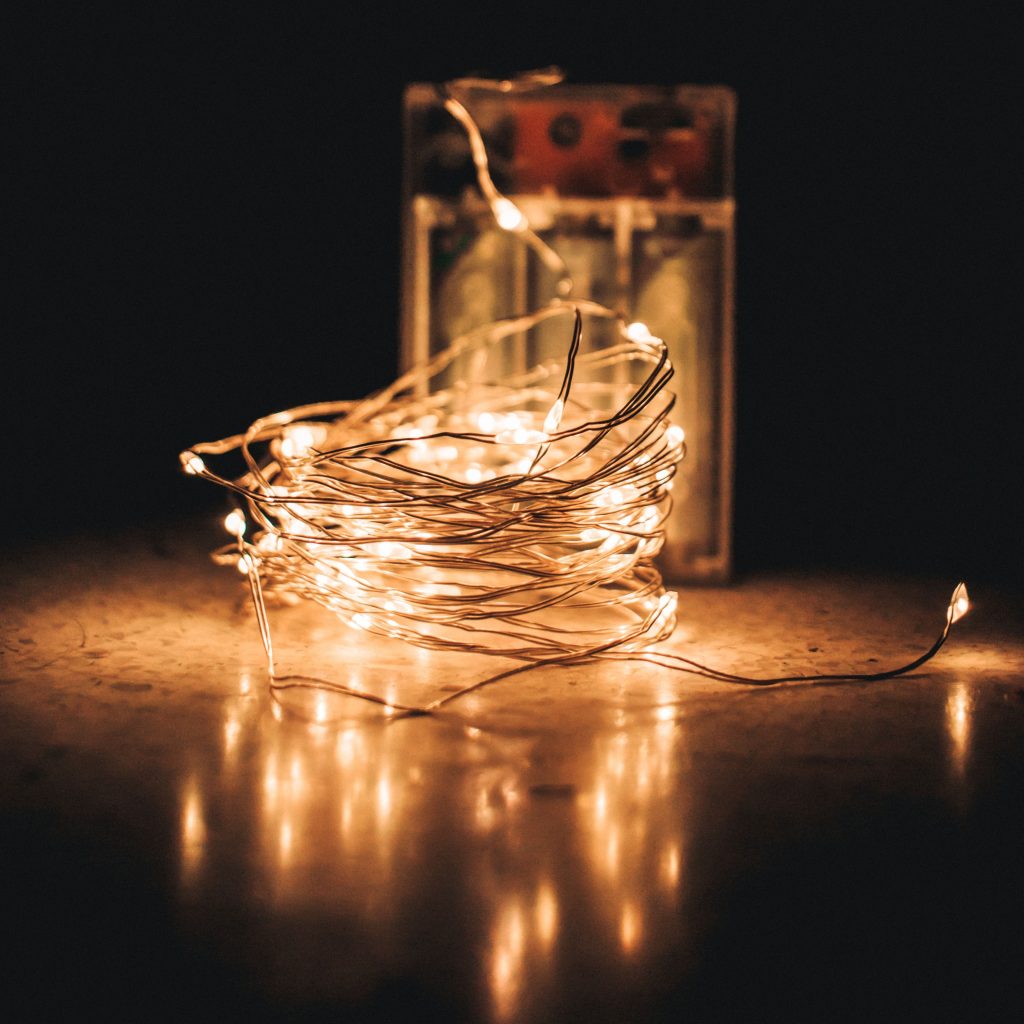
After the jar is completely ready with your decoration, you can place a small LED tealight or LED candle inside your jar. Turn off your room lights and see how magical your own little lantern looks. The light will make the colors and silhouettes more visible and will create a warm, spooky glow.
Why use LED?
LED tealights are useful for your DIY lanterns because they don’t produce the open flame and heat associated with traditional candles. This is particularly important when your lantern contains paper, paint, ribbon or other decorative materials.
Tips for a Better Finish
- Let every layer of paint dry and don’t rush between coats of paint.
- Use thin coats, as several thin layers often give you better control than one very thick coat.
- Keep your design simple, as you don’t need complicated artwork.
- Test your markers and then paint first as different glass surfaces react differently to different products. Test your chosen material on a small area before decorating the entire jar.
- Make use of different sizes—small, medium and large jars that will create a more interesting display.
Important Safety Tips
- For this particular project, LED lights will be the safest choice, especially if you have decorated your jar with paper, fabric, ribbon or other flammable materials.
- If you ever use a real candle in a glass container, make sure your container is specifically suitable for candle use and that the surrounding materials are appropriate for heat and flame.
- Never place paper, cardboard, fabric, jute, dried flowers or similar flammable materials close to an open flame. Keep lanterns on a stable surface and never leave a burning candle unattended.
- When you’re unsure, always choose an LED candle.
When Halloween is over, you can remove temporary decorations and reuse the jars for another DIY, like for a fairy terrarium or any Christmas project. You don’t need a big budget to make your home feel spooky for Halloween.
An old jar that was in your recycling pile can become a glowing ghost this season. A little orange paint will make a pumpkin. A few pieces of black paper can create bats, spiders or haunted-house silhouettes. And that’s the fun of upcycling.
You don’t always need something new to create something wonderful.
So save those empty jars, gather your craft supplies, and make your own little collection of Halloween lanterns. Who knows? Your recycling box might just be hiding your next Halloween decoration. That’s exactly the kind of transformation we love at Blunder to Wonder—taking something ordinary and giving it another chance.


Leave a comment