
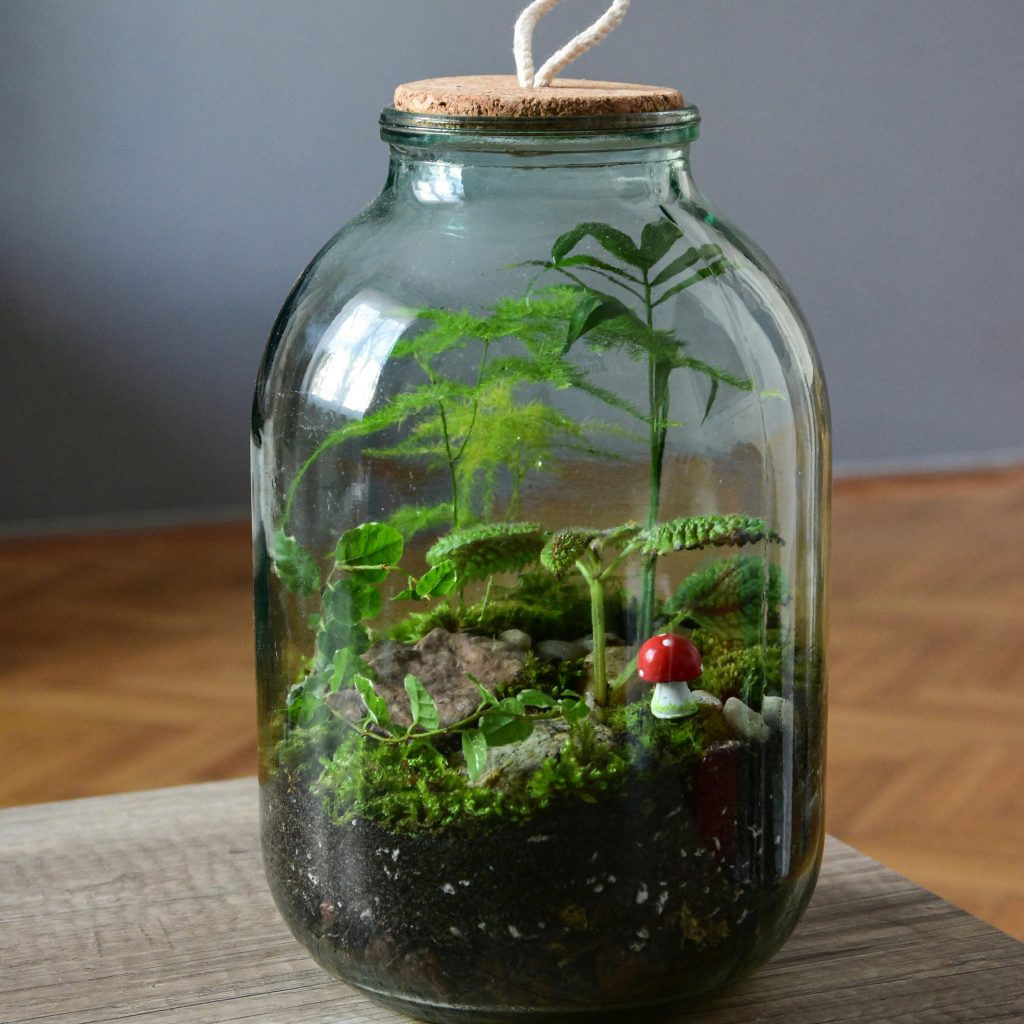
A simple jar will look beautiful when you add some plants to it and let your fairy-tale imagination come true. Make it the best visual storytelling.
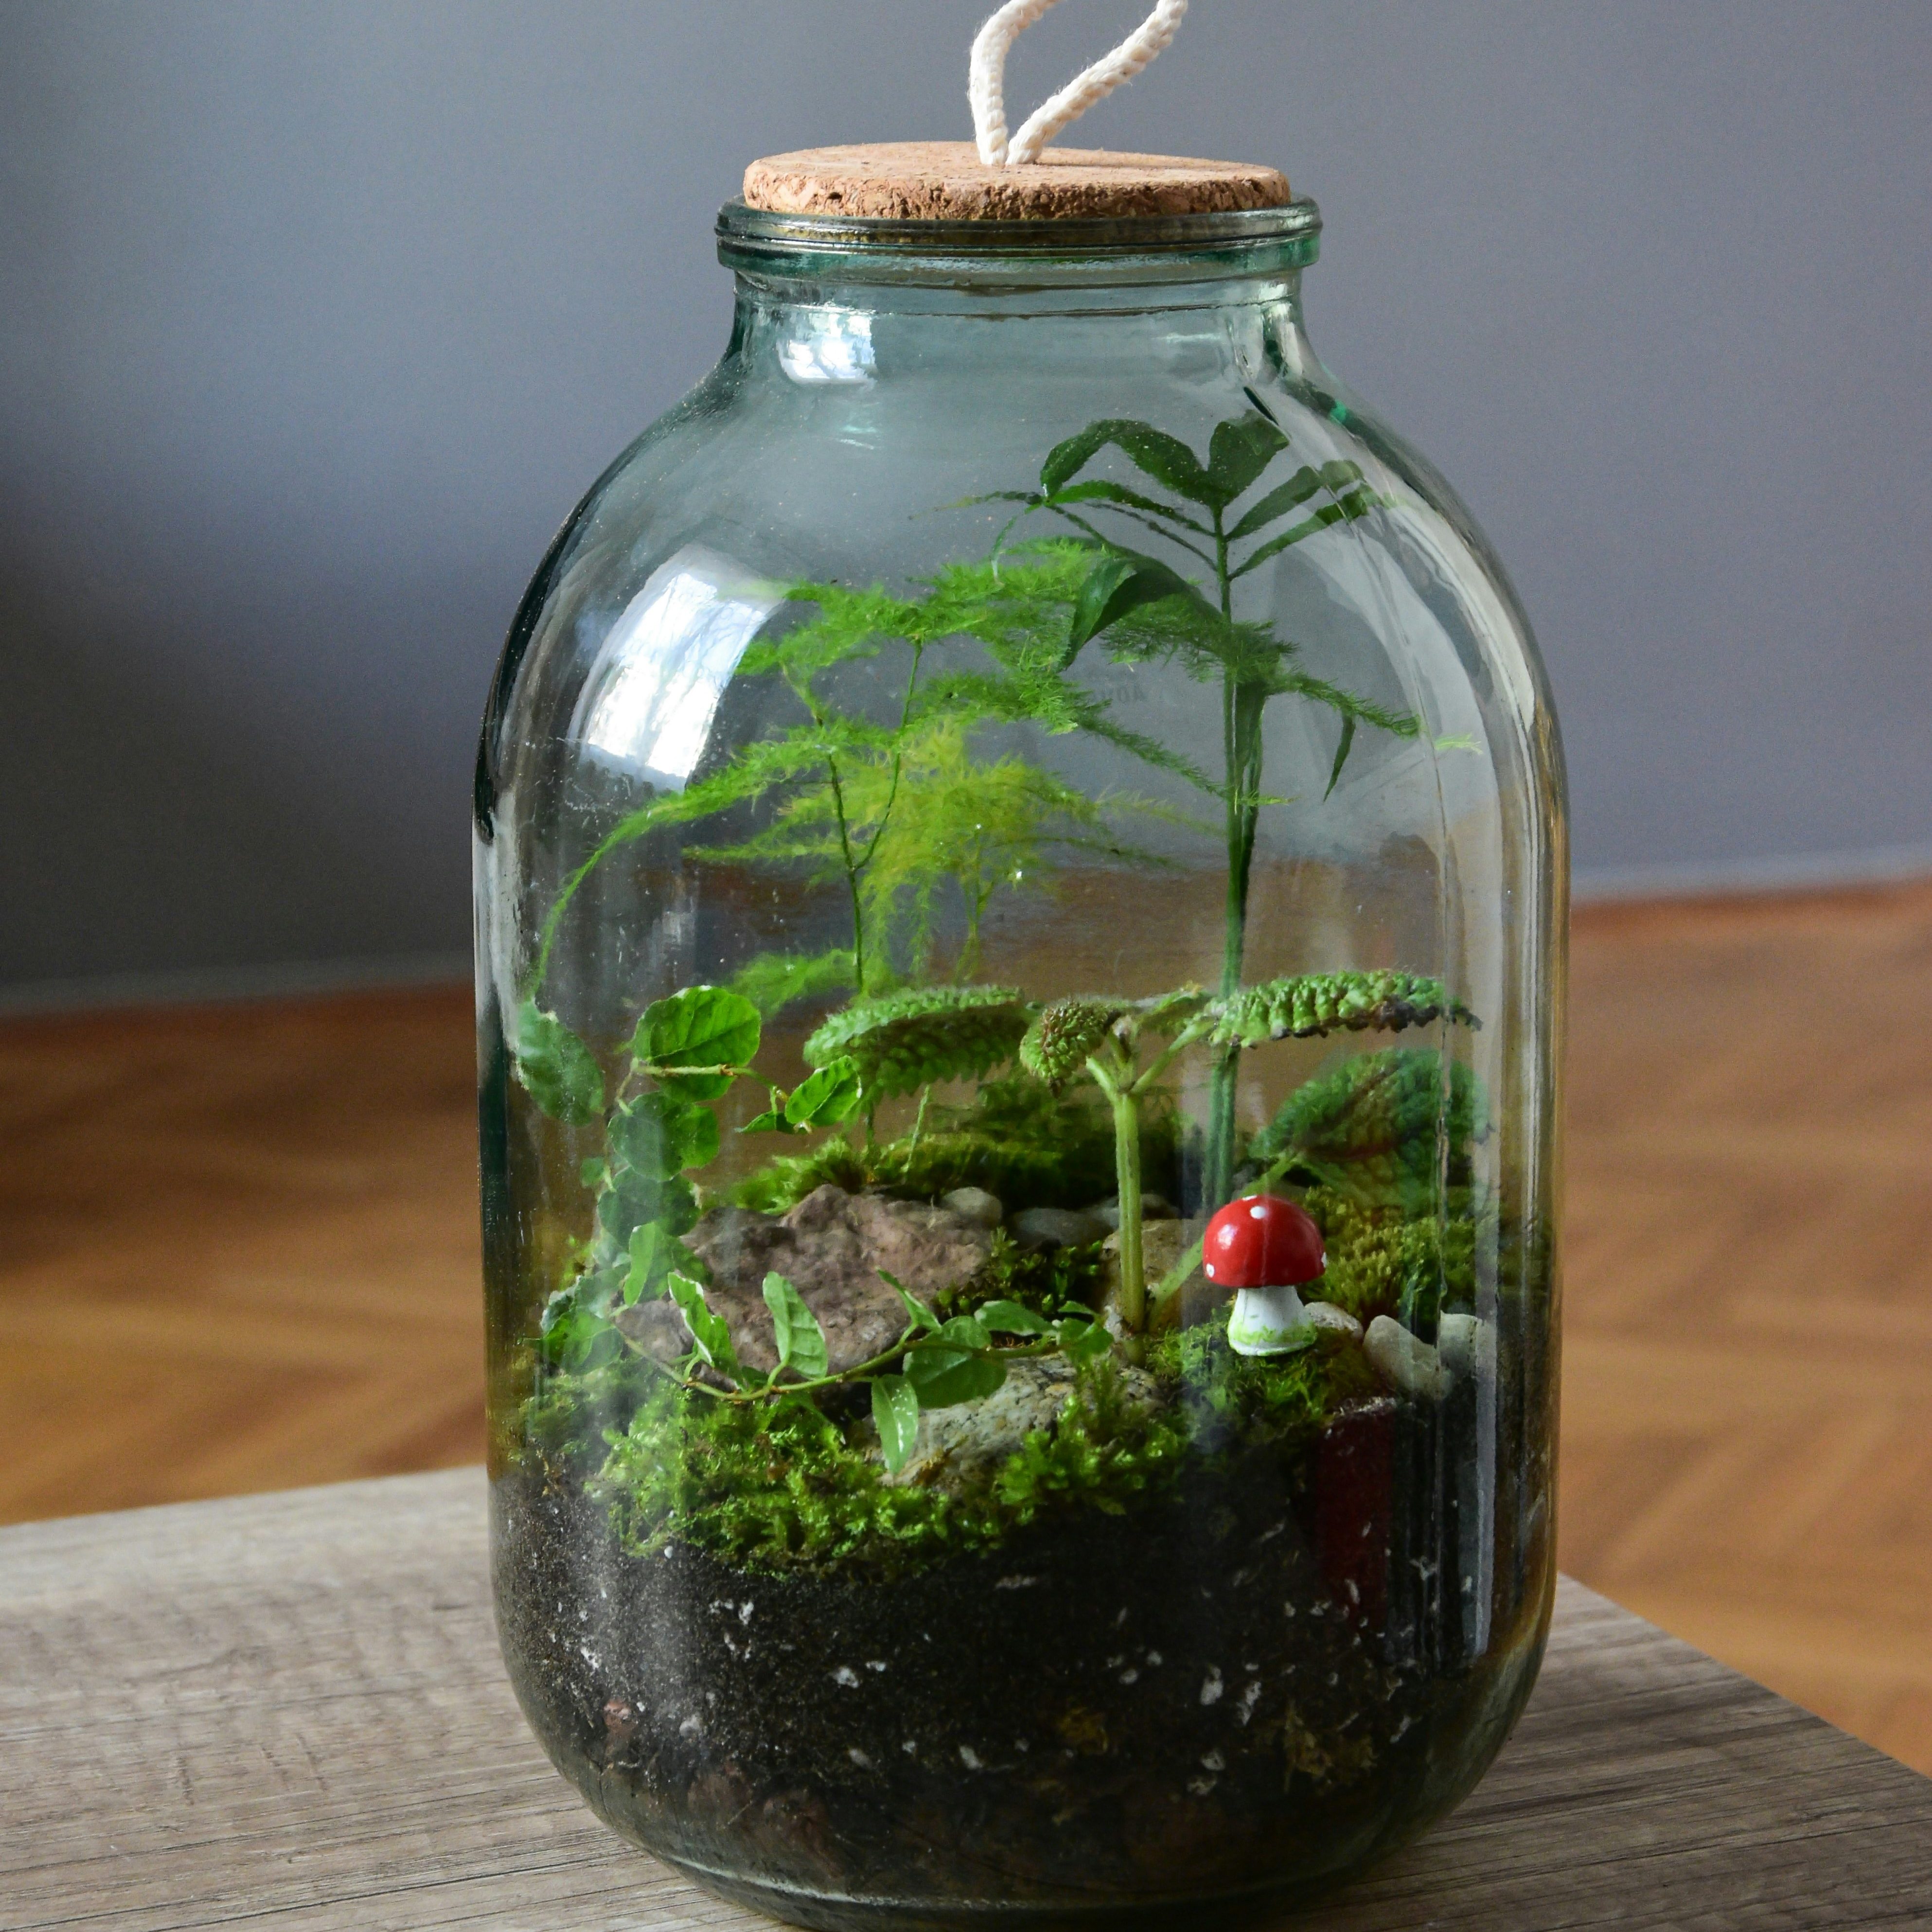
When you turn a simple glass jar into a tiny garden, you will be proud of yourself. So, let’s turn this idea into something real!
This DIY fairy garden in a mason jar is a lovely project for beginners, small homes, and crafters like you who enjoy bringing a little creativity into your everyday objects.
What You’ll Need—
You don’t need everything on this list. You can substitute items with things you already have.
- A clean, wide-mouth mason jar or glass jar (choose a wide-mouth jar. It will be much easier to arrange the plants and decorations than in a narrow one.)
- Small pebbles or gravel from your garden
- Activated charcoal (optional, but useful in enclosed terrariums)
- Potting soil suitable for your chosen plants
- Small moss or miniature plants
- Tiny decorative stones
- Small pieces of bark or twigs
- A miniature fairy with wings from your old toys
- Small decorative mushrooms, stones, or other accessories
- A spoon or small scoop
- A small paintbrush for cleaning soil from the plants and decorations
Hygiene Comes First—
Wash your mason jar thoroughly with warm, soapy water and let it dry completely. If you’re reusing an old food jar, make sure there isn’t any food residue or strong smell left inside, especially in pickle and seasoning jars.
This is also a great opportunity to give your old jar a second life rather than throwing it away.
Create the Basics—
Create a drainage layer next; that is the most basic thing to keep your plants healthy and thriving. Start by adding a thin layer of small pebbles or gravel to the bottom of the jar. This layer will give excess water somewhere to collect instead of leaving the plant roots sitting directly in water.
Most decorative jars don’t have drainage holes, so you’ll need to be extra careful with watering.
A Little Charcoal & Rocks—
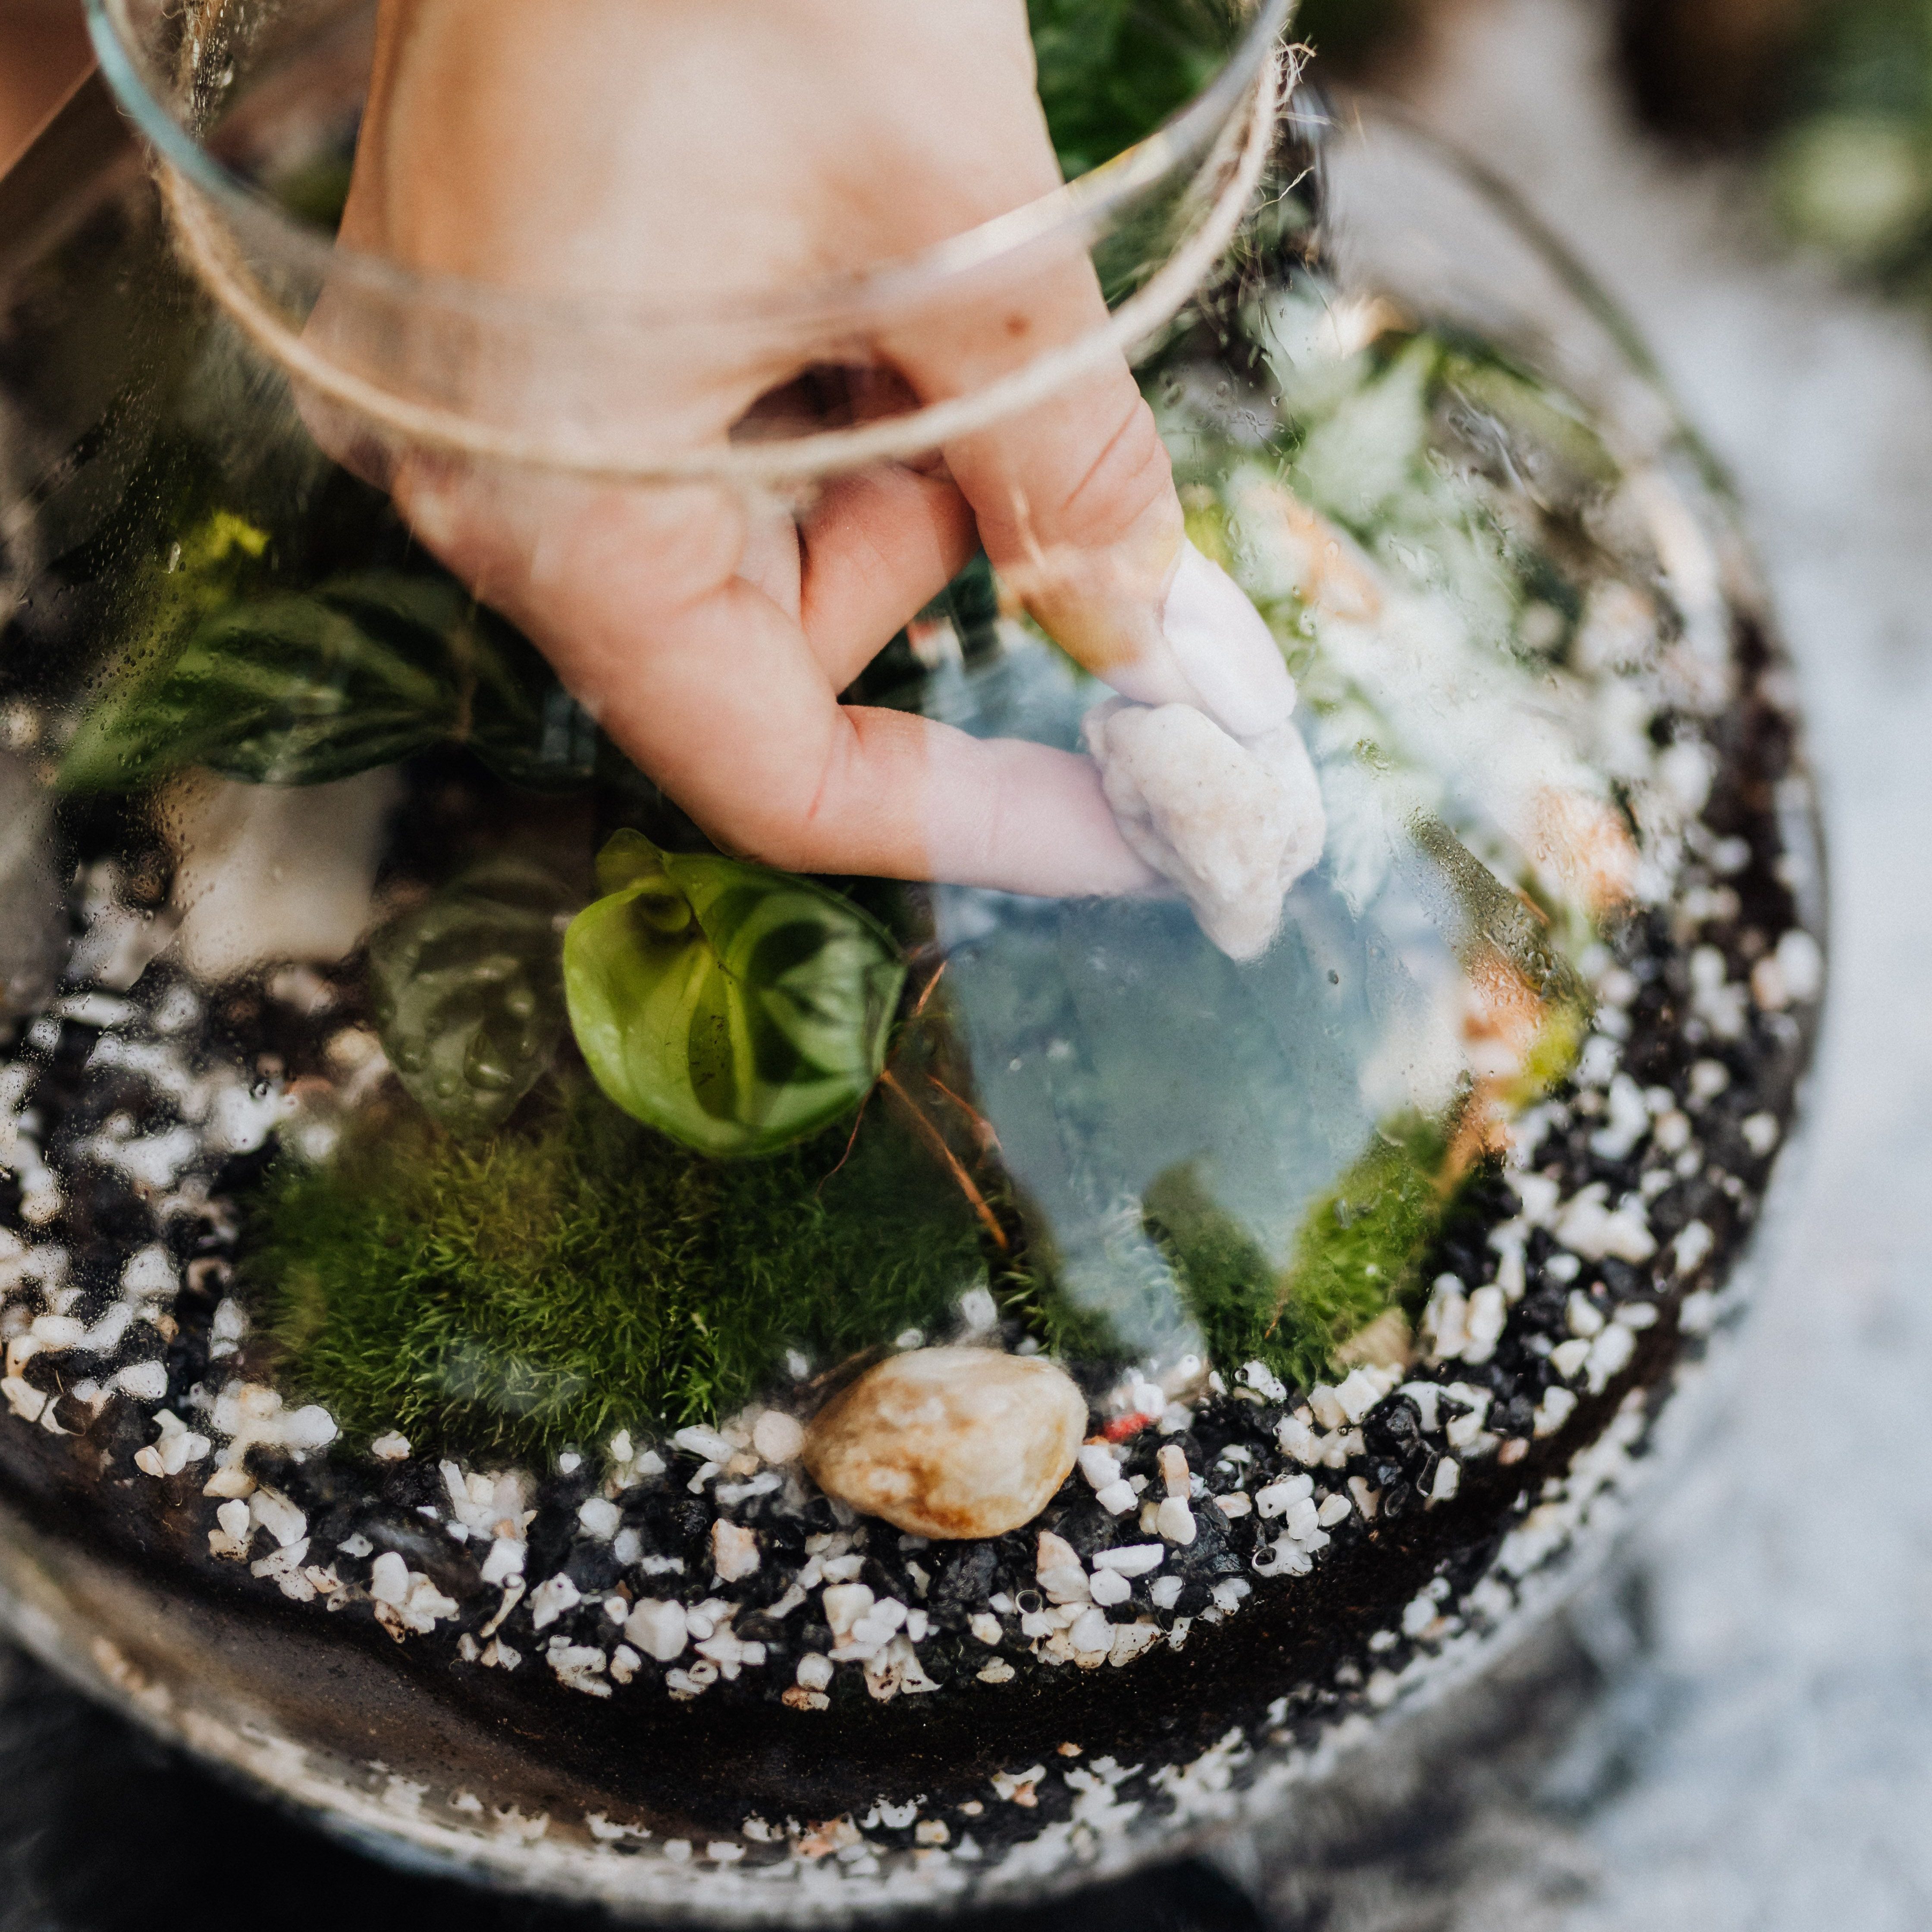
Add a thin layer of activated horticultural charcoal if you have it. This is used to keep the environment fresher inside the terrarium, as it is closed or semi-closed.
If you don’t have charcoal, there’s no need to worry, as this step is optional. You can still make the garden by adding tiny rocks; just be extra careful not to overwater it.
A Layer of Soil—
Add a layer of suitable potting soil on top of the drainage layer you have created. Don’t fill the entire jar; plan according to the space you need for your plants and decorations.
For a miniature garden, you create different heights rather than making the soil perfectly flat, which will make it look more attractive.
Planting your tiny beauties—
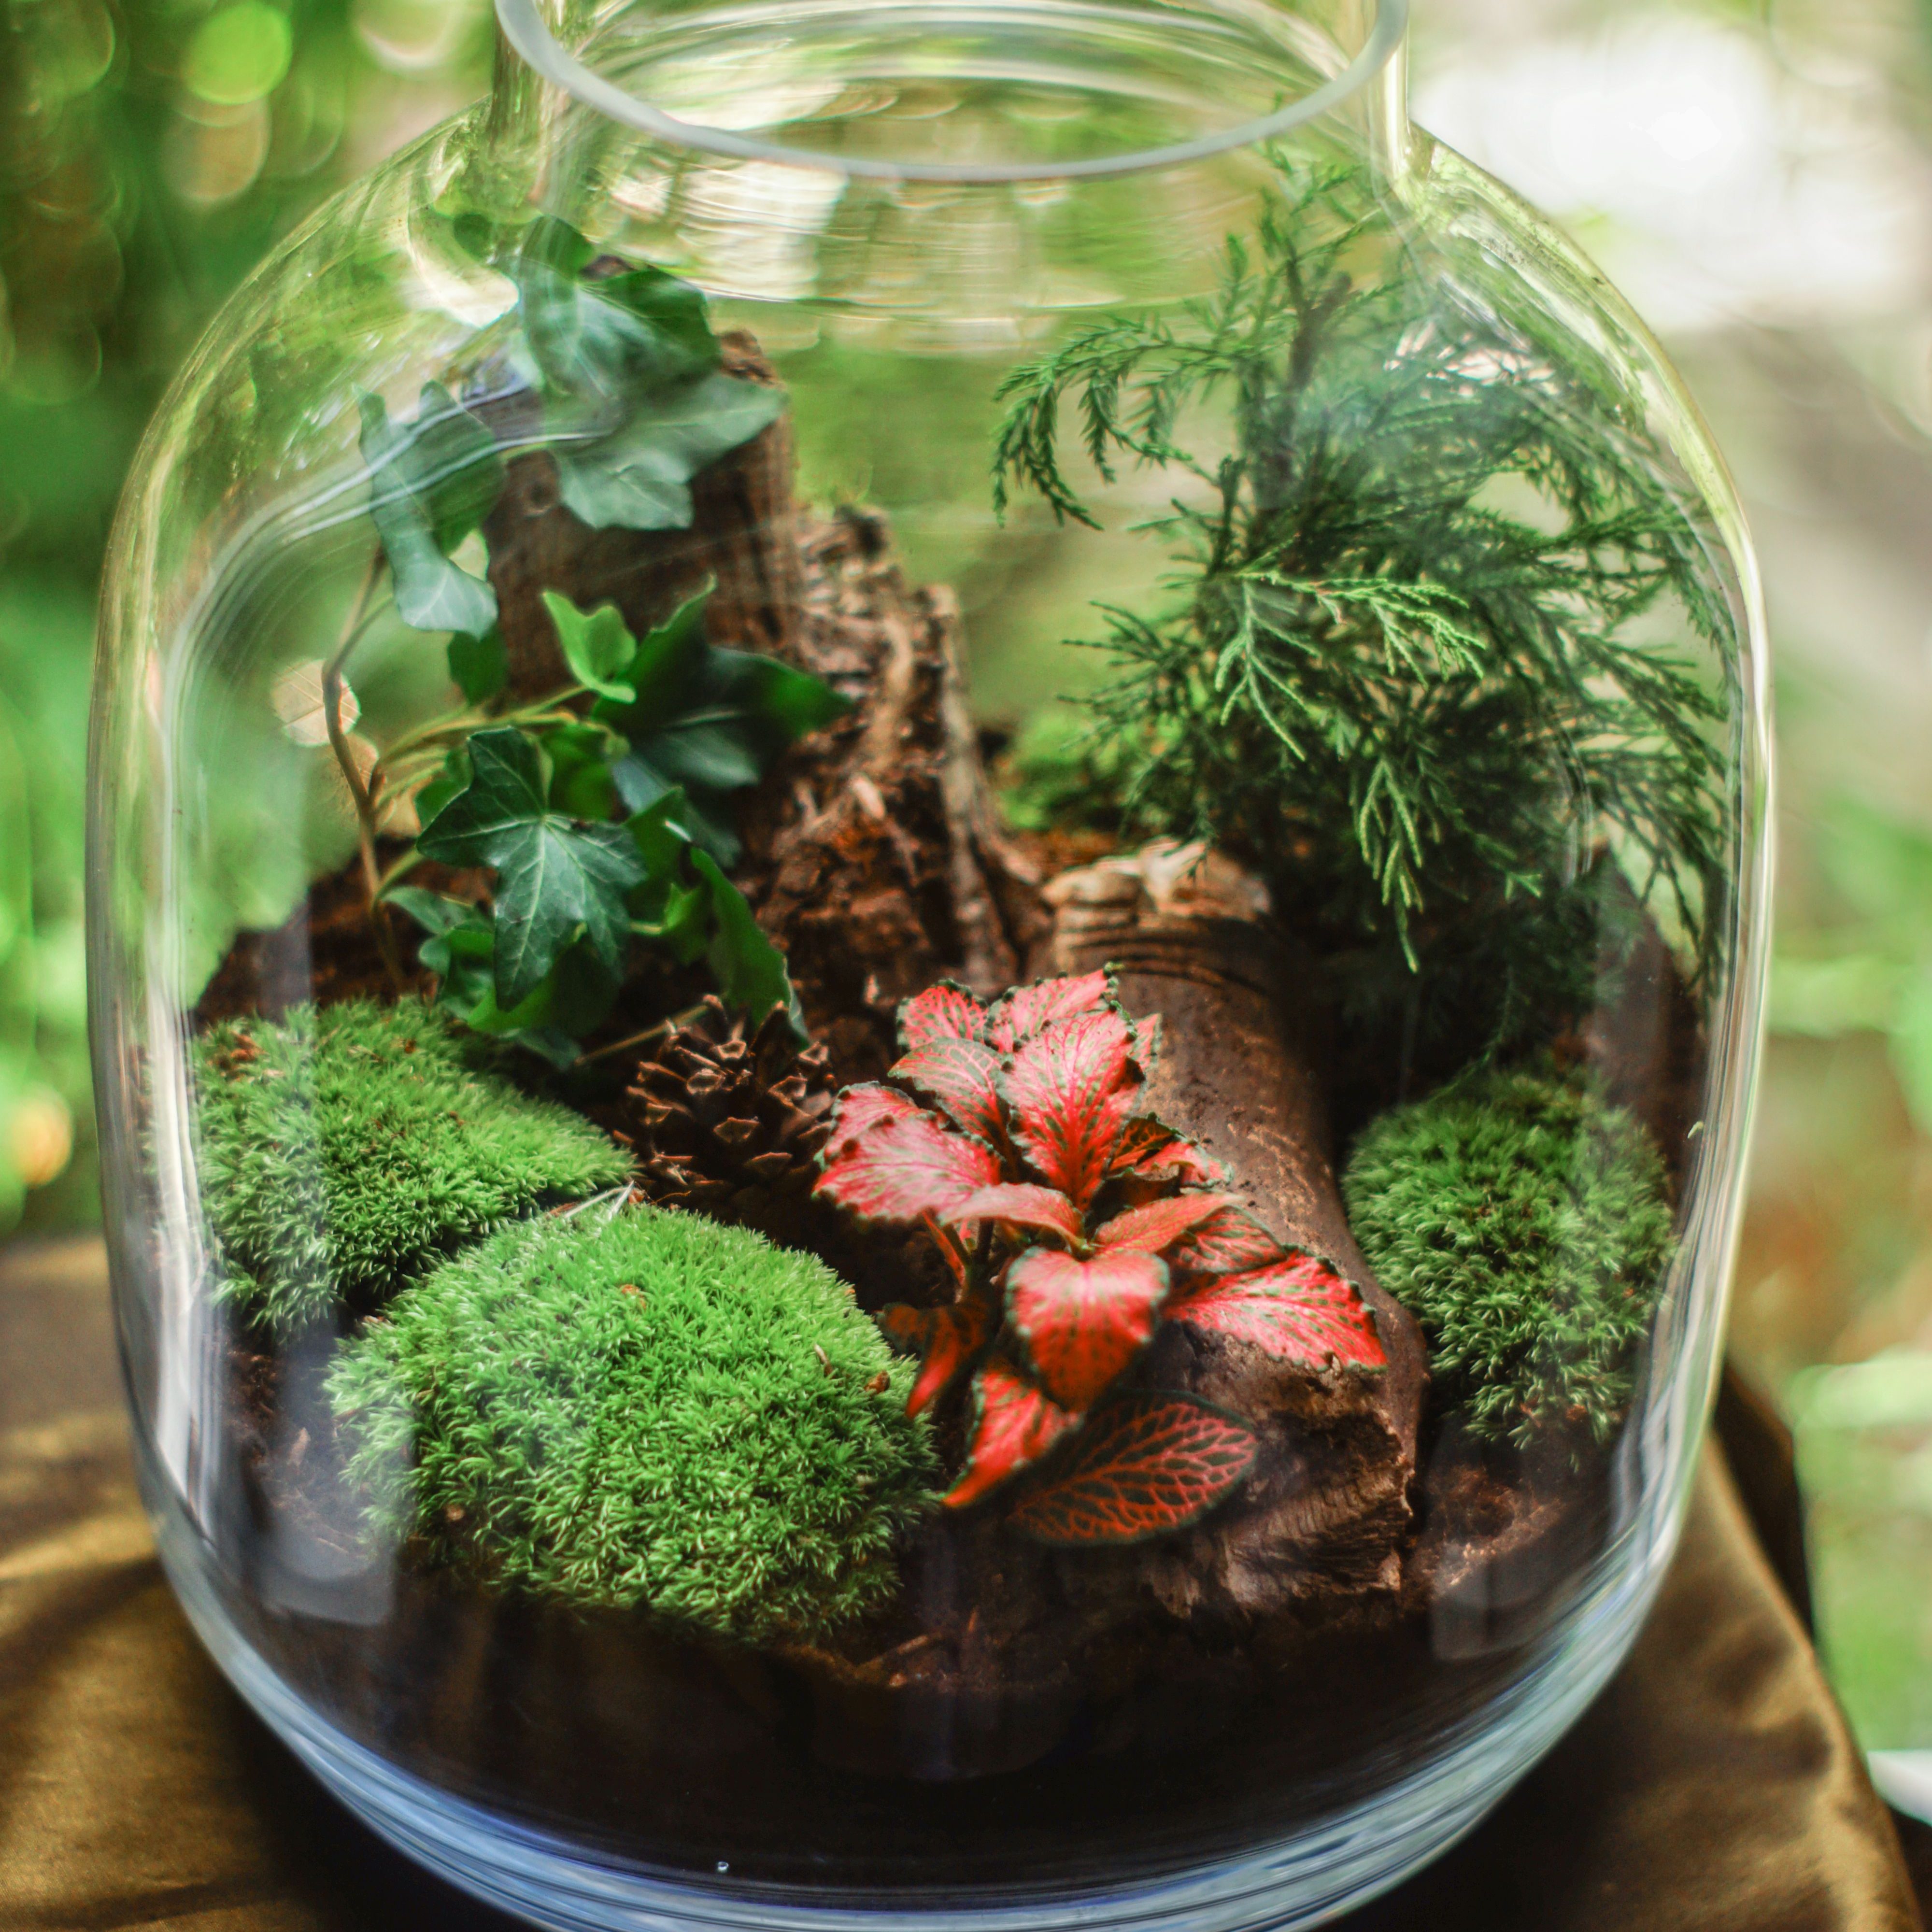
Now comes the most interesting part. Choose some small plants that are suitable for the conditions you’re creating. Moss and other small, humidity-loving plants will work well for terrarium-style displays.
Before planting, arrange your plants outside the jar to decide where you want each one to go. Then carefully make small holes in the soil and place your plants inside, and press the soil gently around the roots.
A simple arrangement:
Tallest element → toward the back
Smaller plants → toward the front
Decorations → between them
This will create depth and make the jar look like a tiny landscape rather than a collection of objects.
Create your Fairy Scene—
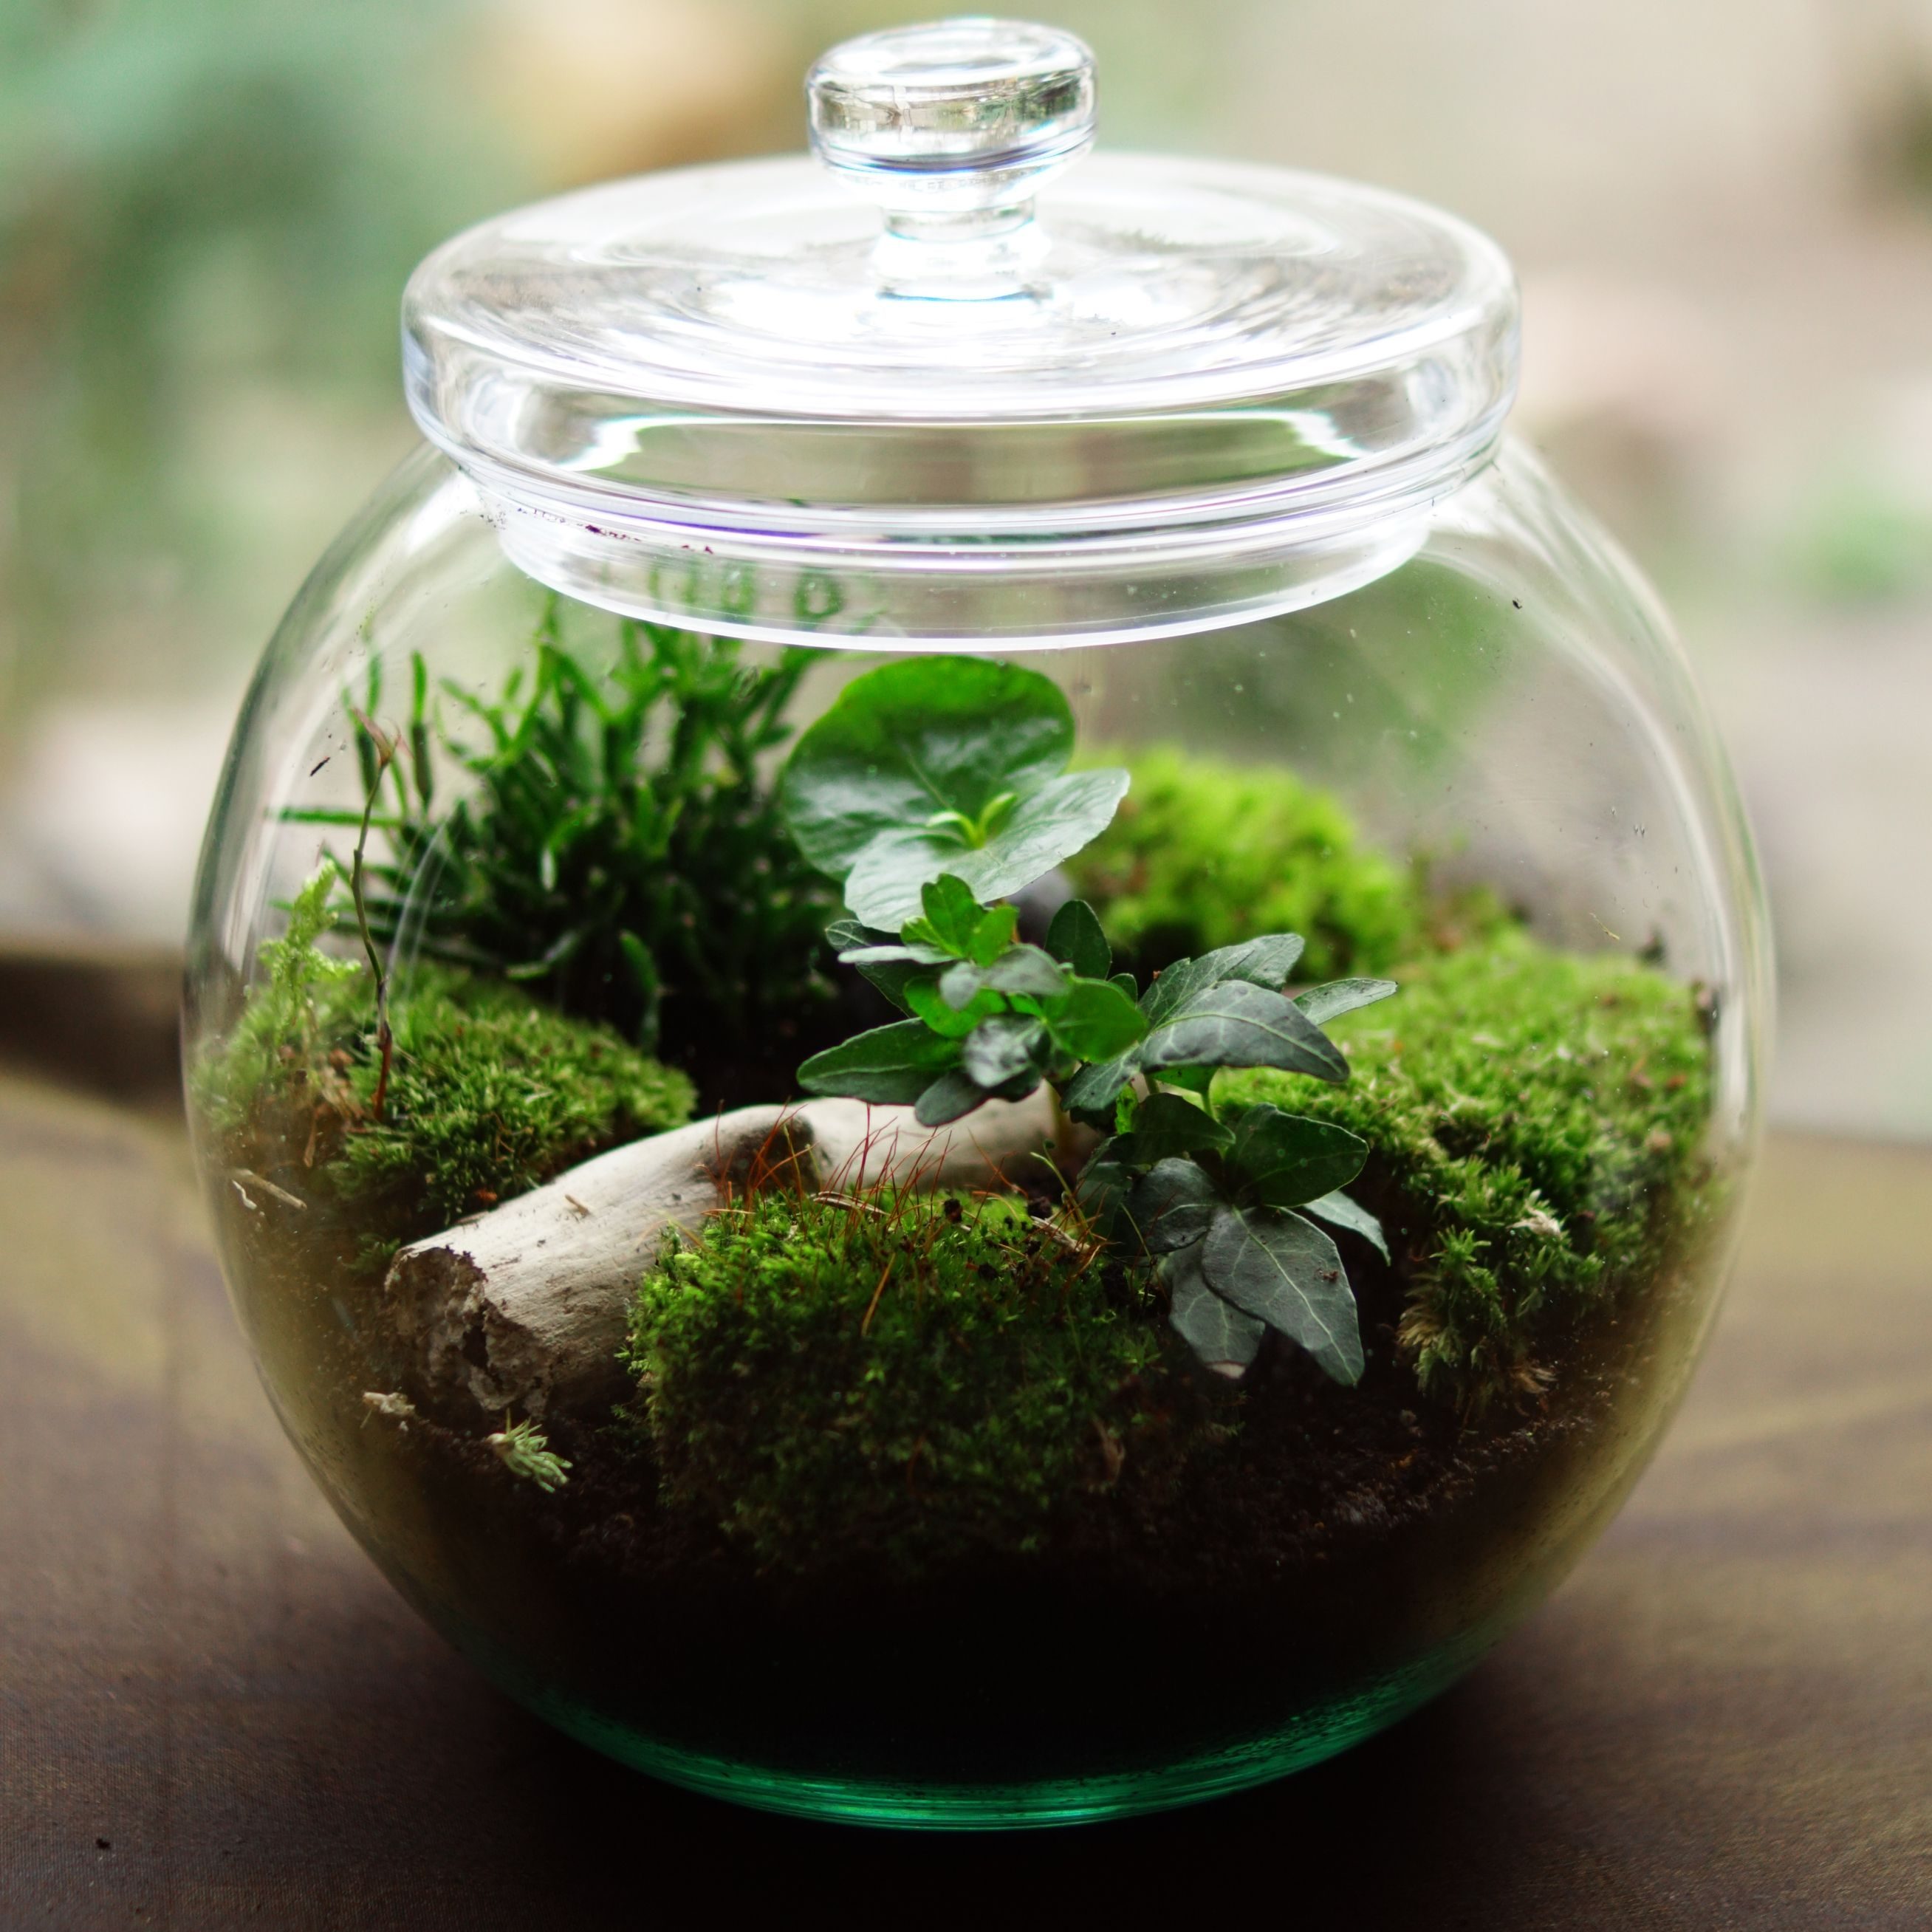
Here comes the part to sprinkle some pixie dust to make the terrarium a wonder in a mason jar. Place your miniature fairy, fairy house, or another focal decoration inside the jar.
Then add little details such as tiny stones, a miniature pathway, small pieces of bark, moss, tiny mushrooms, miniature benches, small wooden signs, and natural twigs.
You don’t need to buy every decoration. These are just options; you can create your own fairy story.
A tiny piece of bark can become a bridge. The small stones can become a pathway. A twig can become a miniature fence.
Look around your home before buying anything. That’s where the most interesting ideas often begin, and this page is all about recycling the things around you.
Feed Your Mini Garden—
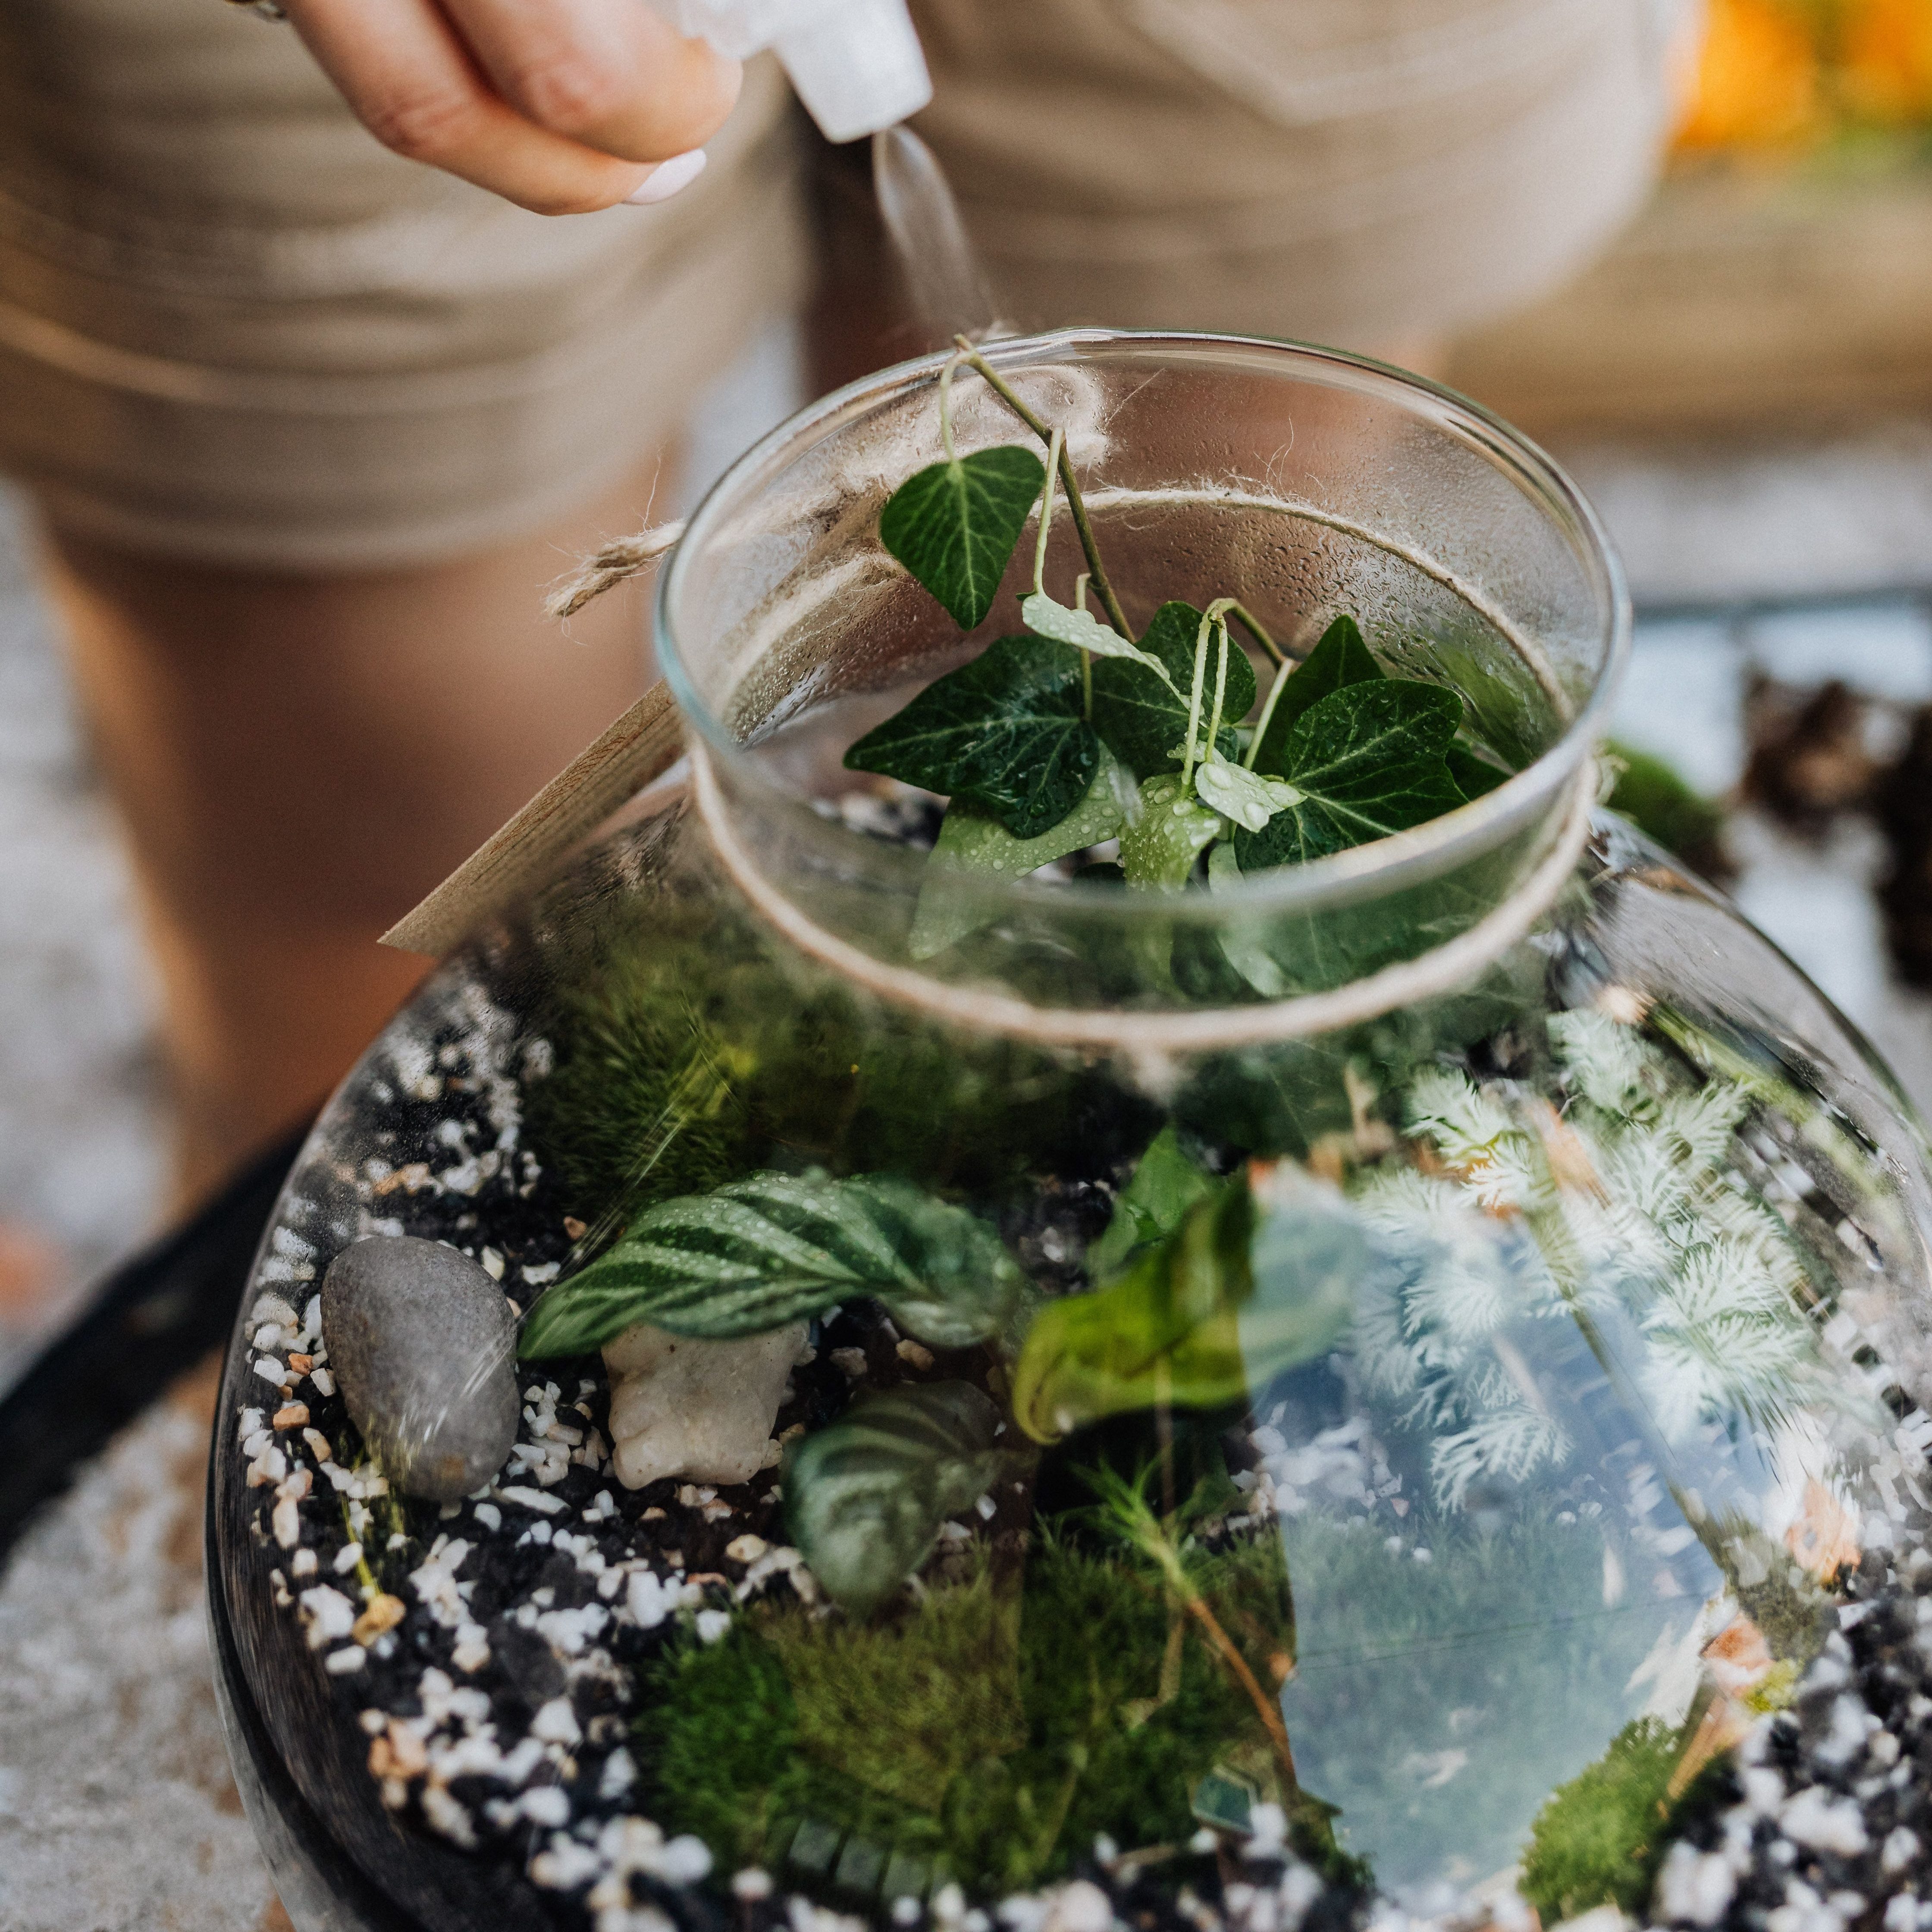
Water the plants lightly after planting. Don’t flood the jar, especially if there are no drainage pathways and drainage holes. The excess water will quickly become a problem.
If you’re creating a closed or mostly enclosed terrarium, moisture may also accumulate inside the jar. Watch the plants and the moisture level rather than following a rigid watering schedule.
Hunt for the Perfect Spot—
Place your fairy garden jar somewhere with bright, indirect light, depending on the plants you’ve chosen. Avoid placing a glass jar in harsh, direct sunlight for long periods because the glass can intensify heat and potentially damage the plants.
Your ordinary mason jar has now become a tiny magical world.
Themes to Make Your Mason Jar More Personal
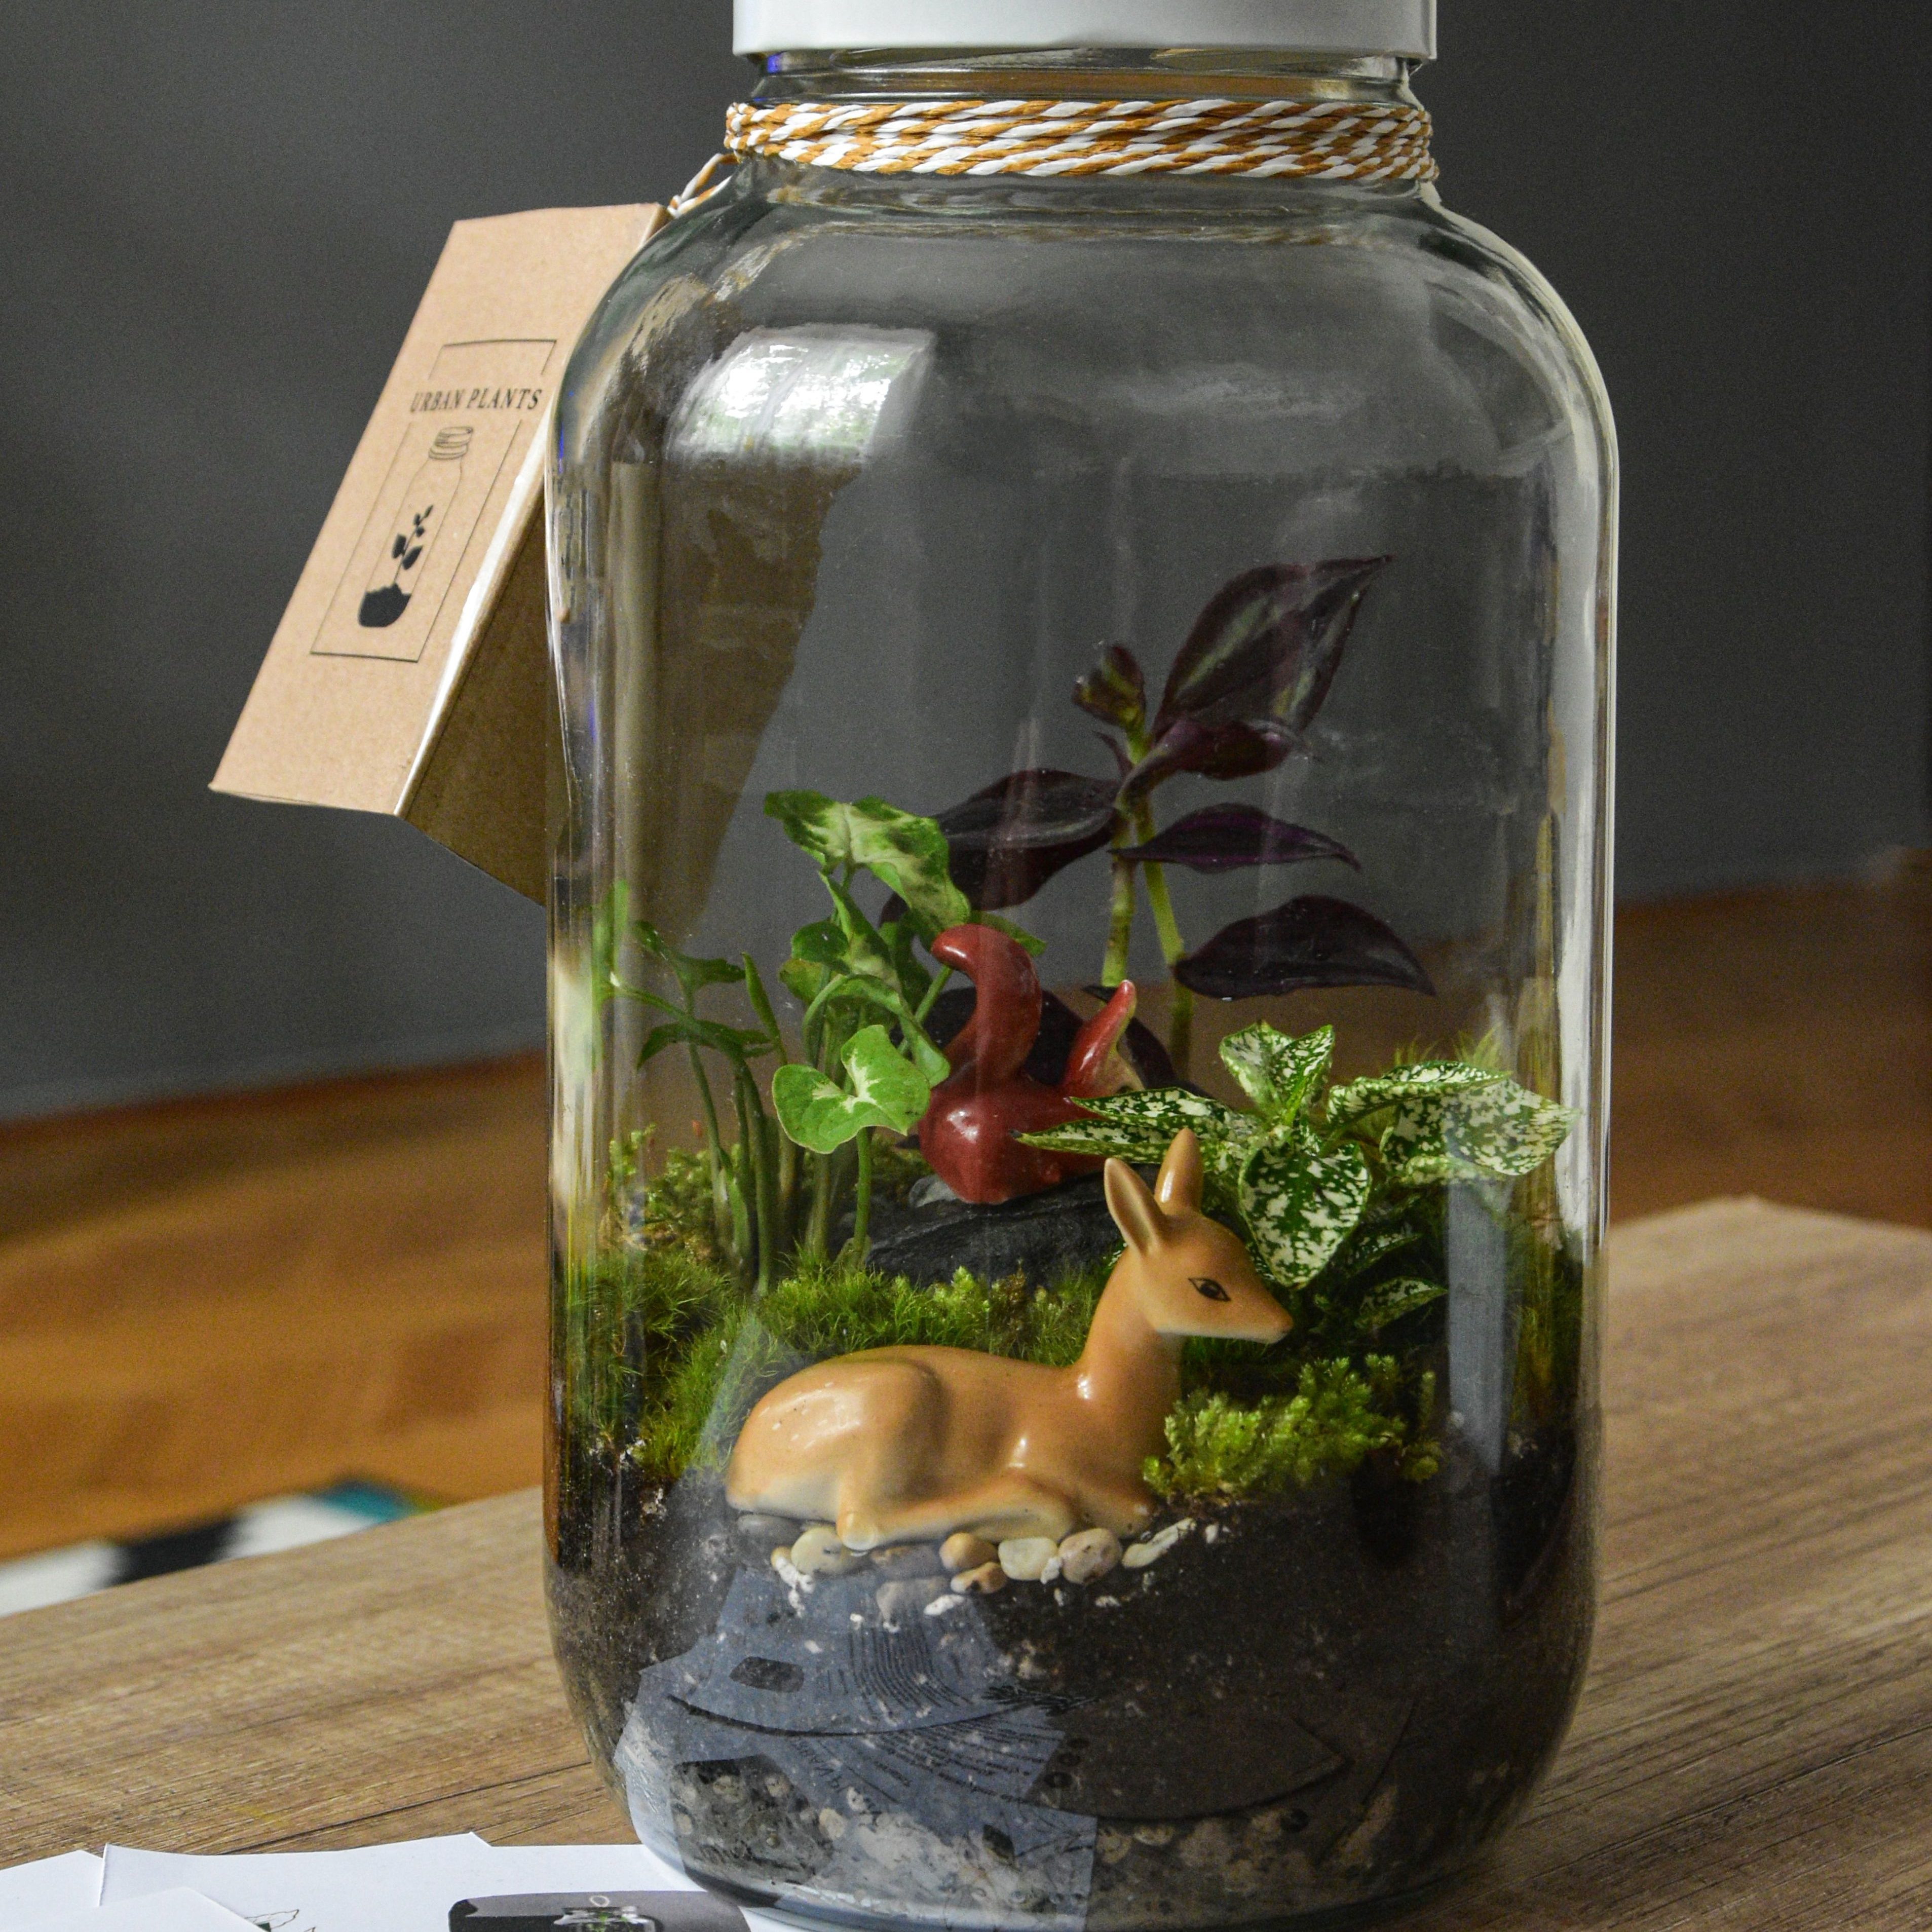
The beauty of this fairy garden jar is that there isn’t one correct design. You can try creating many themes that tell different stories. For example,
- Woodland Fairy Garden—Use moss, bark, pebbles, and natural-looking decorations to make this theme.
- Cottage Fairy Garden—Add a miniature house, flowers, and a tiny pathway to make a cottage for your fairy.
- Enchanted Forest—Use moss, mushrooms, twigs, and darker natural tones for creating this theme.
- Minimal Fairy Garden—Keep it simple with one plant, a few stones, and one tiny fairy.
The best DIY material is something you were about to throw away.
Points to Remember—
- Don’t overwater. This is the biggest mistake beginners make with jar gardens.
- Choose plants according to the environment you live in. Not every houseplant will thrive in a humid enclosed container.
- Your plants need space to grow, so don’t overcrowd the jar.
- Keep your mason jar somewhere stable and away from edges where it could fall.
- Keep miniature decorations away from pets or small children if they could become choking hazards.
Your fairy garden doesn’t need to be expensive or complicated. A forgotten jar, a handful of stones, a little greenery, and a few minutes of your creativity will become something completely different.
And that’s what Blunder to Wonder is all about: taking something ordinary and giving it another chance to become something wonderful. So before you throw that empty jar into the recycling bin, look at it one more time. You might already be holding the beginning of your next little wonder.


Leave a comment