
Give your kitchen a fresh look with a chalk paint cabinet makeover. Here, you will learn how to clean, prepare, paint, and protect kitchen cabinets with this beginner-friendly guide.
Instead of replacing your kitchen cabinets, give it a new look. If your cabinets are still in good condition but look dated, tired, or simply don’t match your current style, chalk paint will be an easy way to give them a fresh appearance. Chalk paint is popular for furniture makeovers because it will create a soft, matte finish and is relatively beginner-friendly. But painting kitchen cabinets is different from painting a decorative table.
Cabinets deal with fingerprints, cooking grease, moisture, and regular cleaning, so good preparation and a suitable protective finish matter just as much as the paint. If you’re thinking about trying a chalk paint kitchen cabinet makeover, here’s a simple step-by-step guide.
Why Try a Chalk Paint Kitchen Cabinet Makeover?
Replacing kitchen cabinets can be expensive and time-consuming. So, painting the existing cabinets will give you a completely different look while keeping the original cabinet layout.
A cabinet makeover can help you:
- Change the color of your kitchen.
- Refresh old-looking cabinets.
- Update your kitchen without replacing everything.
- Give dated furniture a new purpose.
- Experiment with a different decorating style.
And you don’t necessarily need professional painting skills. The biggest difference between a frustrating makeover and a successful one is usually preparation.
What You’ll Need
The exact materials will depend on your cabinet surface and the paint manufacturer’s instructions, but a basic project may require:
- Chalk paint suitable for the cabinet surface
- Screwdriver
- Mild degreasing cleaner
- Clean cloths or microfiber cloths.
- Sandpaper or sanding sponge
- Paintbrush
- Small paint roller
- Paint tray
- Painter’s tape
- Drop cloth or old sheets
- Primer, if recommended for your cabinet material
- Suitable protective topcoat
- New cabinet handles or knobs, if desired
Before buying paint, check the manufacturer’s instructions to make sure it is appropriate for kitchen cabinetry and your particular cabinet material.
Choose Your Cabinet Color
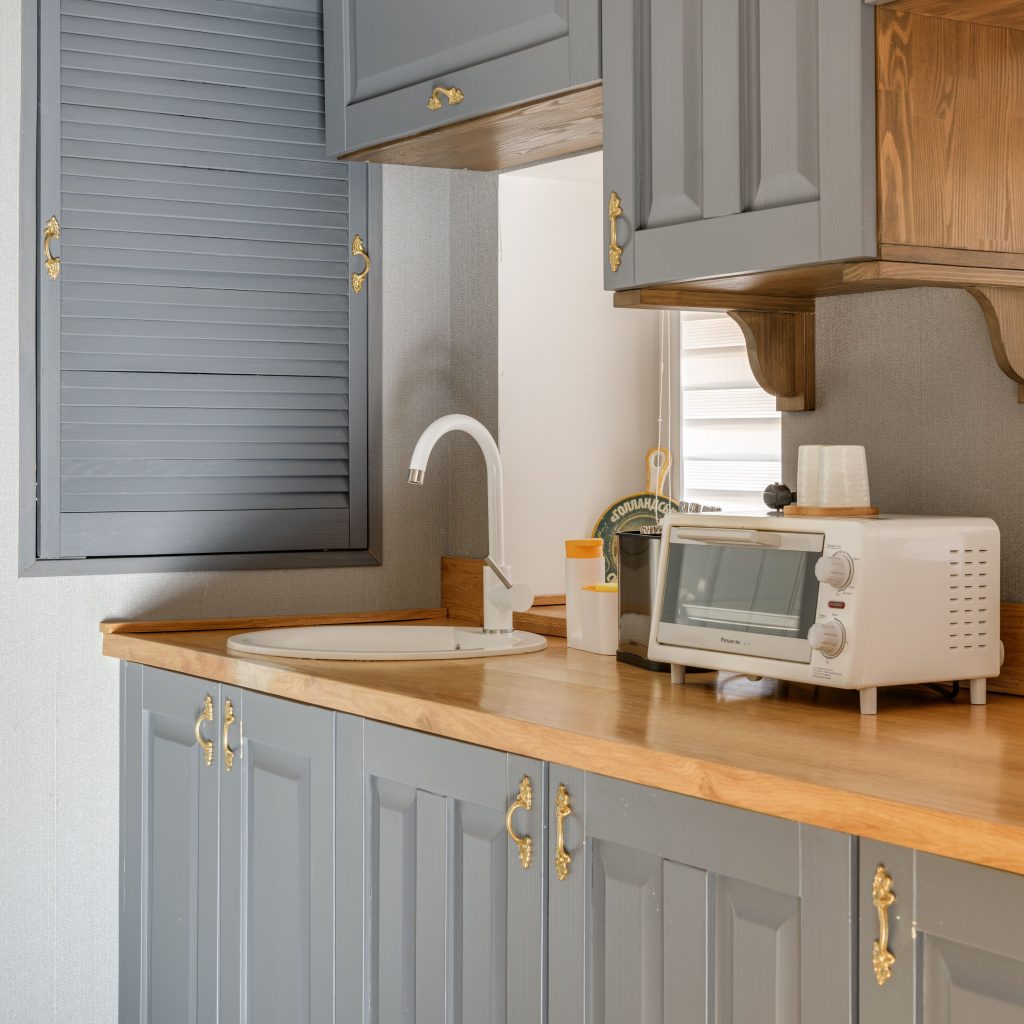
Start by deciding what kind of kitchen you want to create. For a soft, classic look, you could consider cream, off-white, sage green, soft blue, and warm grey.
For something more dramatic, deeper colors will work best.
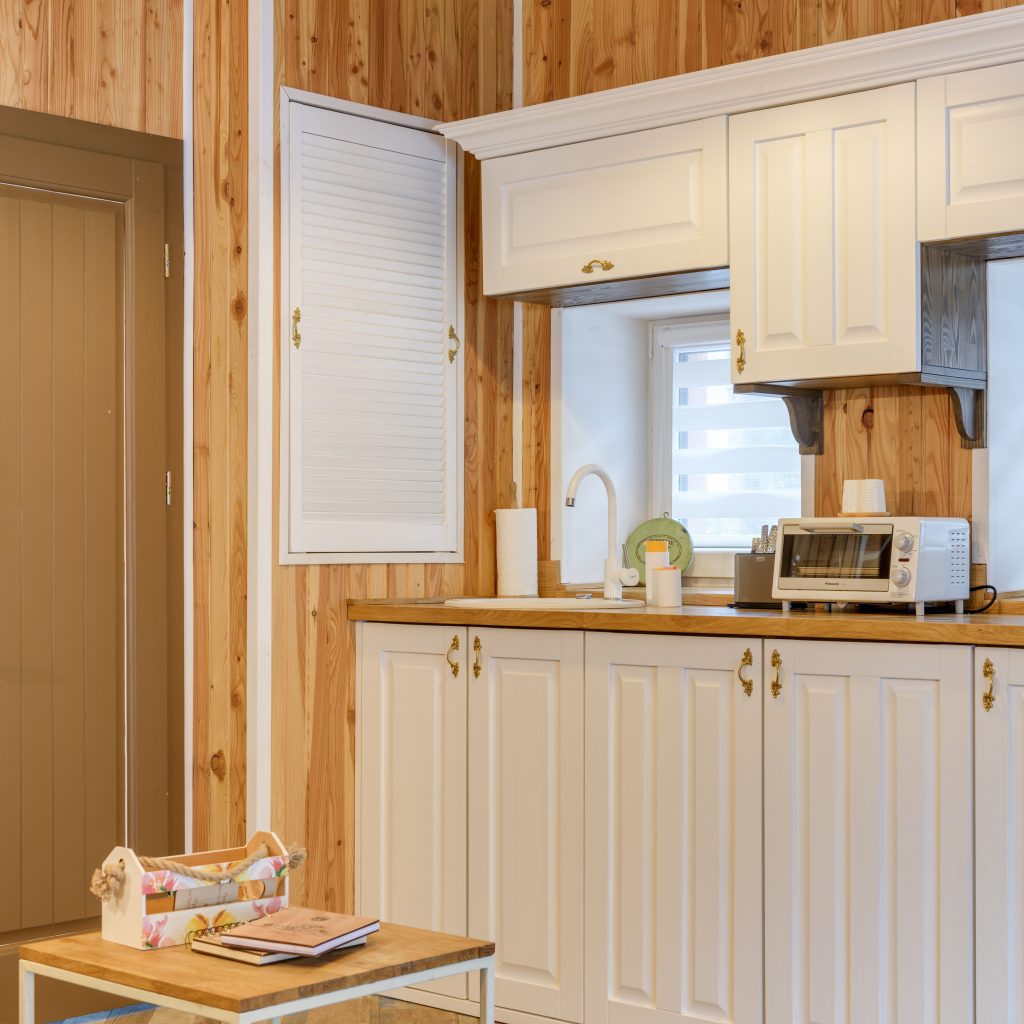
Remember that color will look different depending on your kitchen’s natural and artificial lighting. If possible, test the color on a small, inconspicuous area first.
Remove the Cabinet Doors and Hardware
Don’t try to paint around your handles and hinges. Remove the cabinet doors and carefully take off the handles, knobs, and other removable hardware. As you remove everything, label the doors and hardware. For example, door 1, door 2, or drawer 1.
This simple step will save you from wondering where everything belongs when it’s time to put the kitchen back together. Keep screws and hardware in labeled bags or containers.
Clean the Cabinets Thoroughly
Kitchen cabinets collect grease, cooking residue, and dust over time, so cleaning them before painting is a must. Paint won’t adhere properly to a dirty or greasy surface. Use a suitable household degreaser or cleaner according to the product instructions.
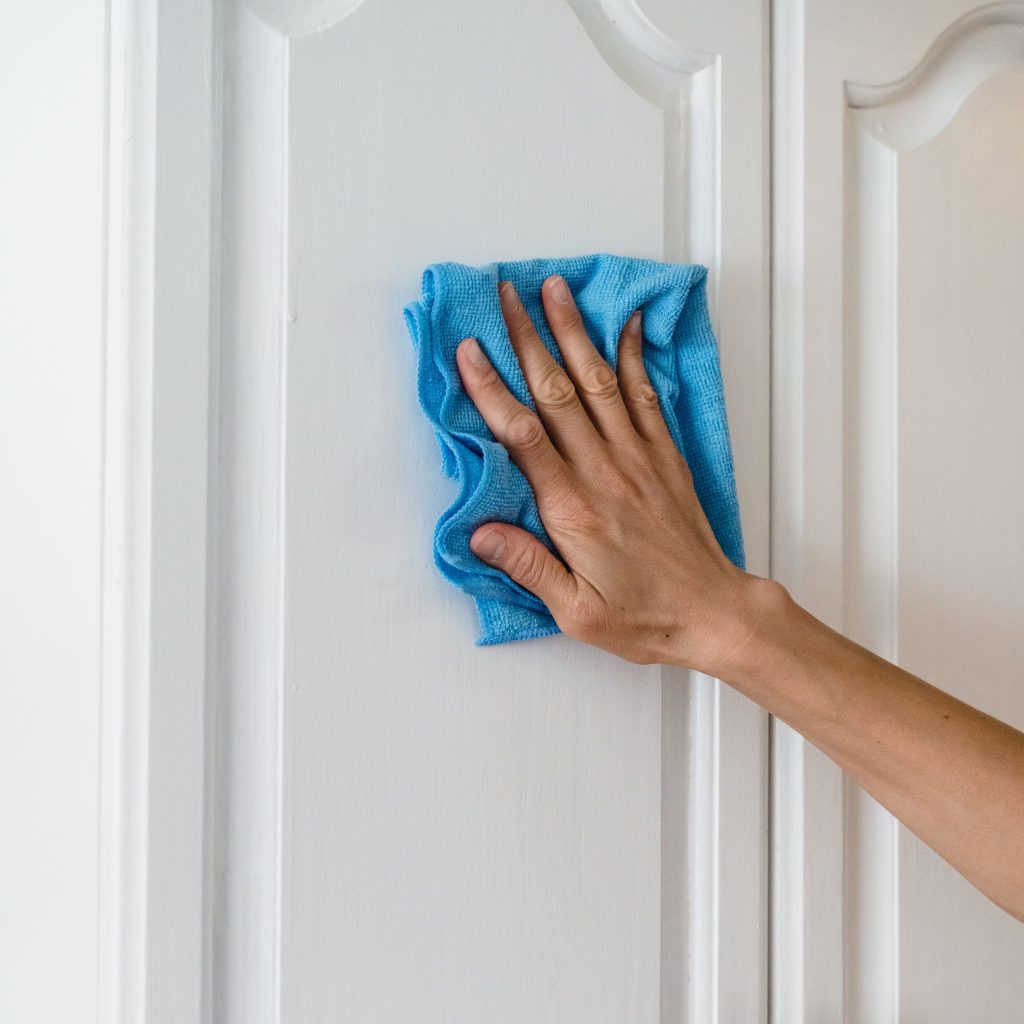
Pay particular attention to the following around cabinet handles, corners, areas above the stove, edges of doors & frequently touched surfaces. After cleaning, allow the surfaces to dry completely and don’t rush this step.
Tip: A beautifully painted cabinet won’t last well if paint is applied over grease.
Lightly Sand the Surface
Chalk paint is often marketed as requiring little or no sanding, but that doesn’t mean sanding is never useful. For a kitchen cabinet makeover, lightly sanding the existing finish will help create a better surface for the new coating. You don’t necessarily need to remove every bit of the old finish.
The goal is generally to smooth rough areas and remove loose or peeling finish. Reduce excessive gloss where appropriate, which will help the new coating adhere. After sanding, remove all dust before painting. If your cabinets have a particularly glossy, damaged, or unusual finish, follow the paint manufacturer’s preparation instructions.
Decide Whether You Need Primer
This depends on the cabinet material, existing finish, and the chalk paint you’re using. Some chalk paints can be applied directly to the prepared surfaces, while certain materials or conditions may require a primer.
Primer can be particularly useful when you’re dealing with very glossy surfaces, dark colors being covered with a light color, stains or discoloration, or bare wood, certain laminates, or manufactured surfaces. Always check the instructions for your specific paint.
Protect Your Kitchen Before Painting
Painting gets messy, so cover your countertops, floors, and nearby appliances with appropriate protective coverings. Use painter’s tape around areas that you don’t want painted.
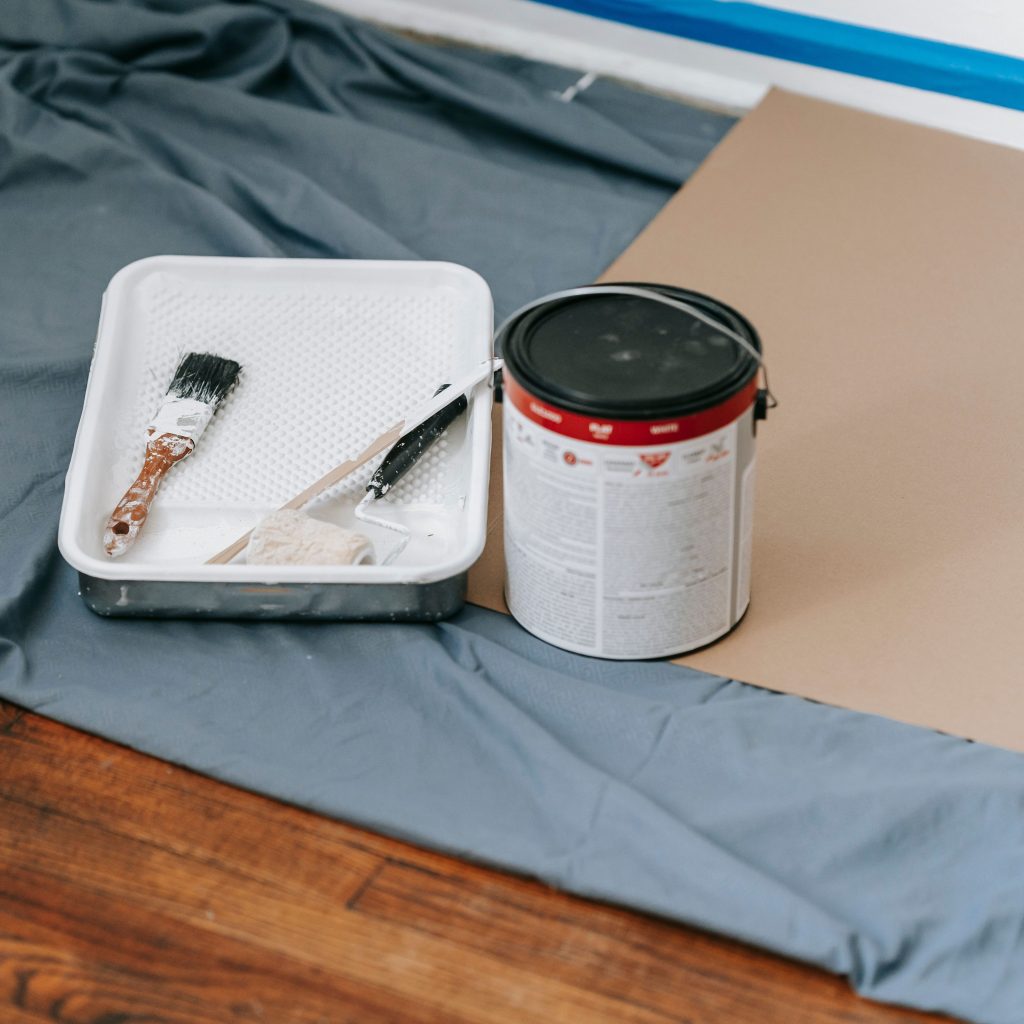
If possible, work in a well-ventilated space and don’t forget the cabinet doors. A pair of sawhorses or another stable protected surface will make painting doors much easier.
Apply the First Coat of Chalk Paint
Now comes the fun part. Stir the paint thoroughly and apply a thin, even coat. You can use a brush, roller, or combination depending on the finish you want and the manufacturer’s recommendations.
Don’t try to achieve full coverage in one coat. The first coat may look uneven, and that’s normal. Allow it to dry according to the paint manufacturer’s recommended drying time.
Apply a Second Coat
Once the first coat is completely dry, inspect the surface. If you can still see the original color or the coverage isn’t even, apply another thin coat. Two coats may be enough, but the number of coats depends on your chosen color, the original cabinet color, the type of surface, the paint, and your desired finish. Thin coats generally give you more control than applying one thick layer.
Pay Attention to the Edges
Cabinet edges are easy to overlook. Check door edges, corners, around handles, drawer fronts, and areas around hinges. At the same time, avoid letting paint build up heavily in corners. Too much paint will make the finish look uneven and may interfere with doors closing properly.
Let the Paint Cure Properly
Dry and cured are not necessarily the same thing. A painted surface may feel dry to the touch while still being vulnerable to scratches and marks. Follow your specific paint manufacturer’s instructions for drying and curing.
Don’t immediately reinstall the doors or start heavily using the cabinets just because they feel dry. Giving the finish enough time to harden will make a big difference to the final result.
Add a Protective Topcoat
This step is especially important for the kitchen cabinets. Kitchen cabinetry gets touched, wiped, and exposed to moisture much more frequently than decorative furniture. Depending on your chalk paint system, you may need a suitable clear protective coat, cabinet finish, or wax, which is specifically recommended.
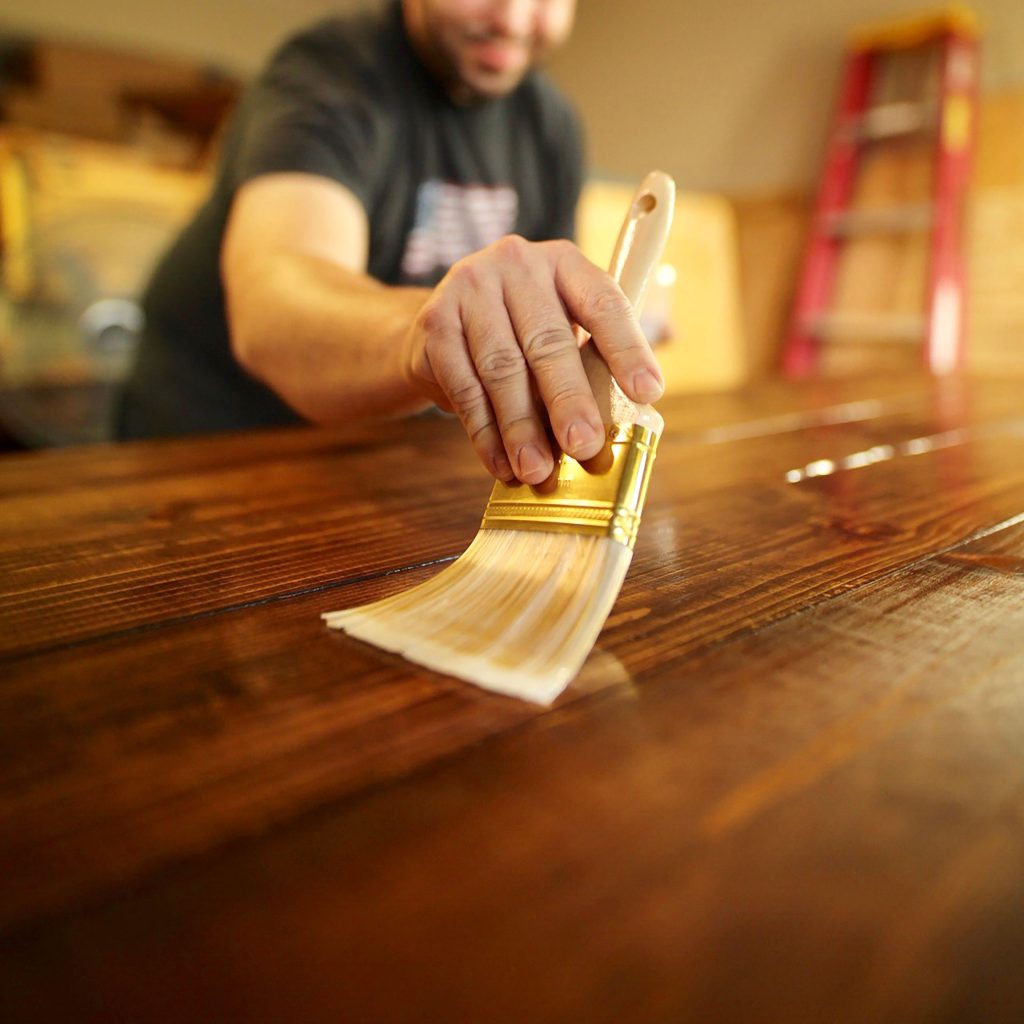
For a working kitchen, choose a protective product designed for the painted surface and level of use, and follow its application and curing instructions.
Don’t automatically assume that any furniture wax or clear coat is suitable for your kitchen cabinets.
Give the Hardware a Fresh Look
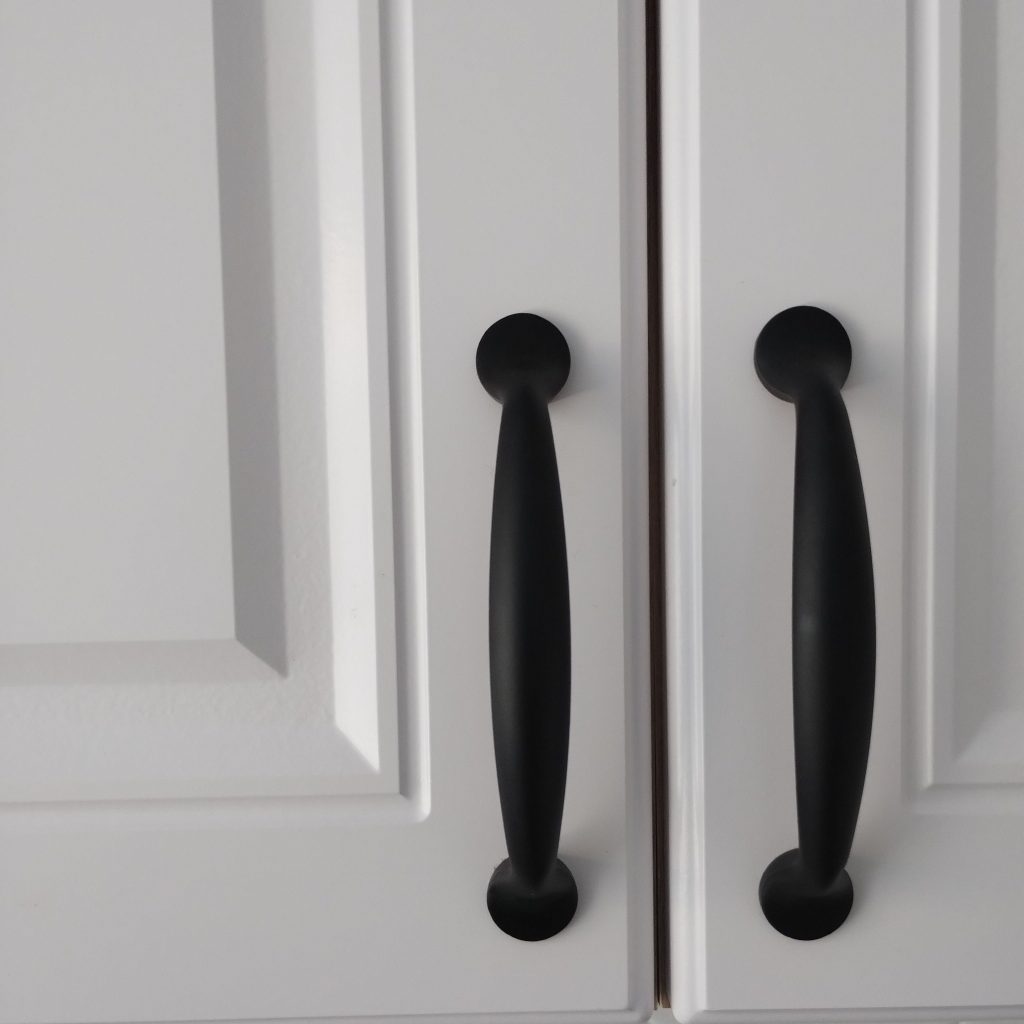
You can completely change the appearance of a cabinet makeover simply by changing the handles. For example, light cabinets & simple black handles
will create a modern look. Or you can go with cream cabinets and brass-colored hardware, which will create a warmer, more traditional appearance. You can also clean and reuse your existing hardware if you want to keep the makeover budget-friendly.
Reinstall the Cabinet Doors
Once the paint and protective finish have properly cured, it’s time to put everything back together. Use your labels to return each door to its original position. Reattach the hinges and handles carefully.
Then open and close each cabinet to make sure the doors aren’t rubbing, hinges are properly aligned, handles are secure, and no thick paint is preventing doors from closing.
Finish off with detailing
A cabinet makeover doesn’t have to stop at painting. Once your cabinets are finished, you can make a few small changes around them too. For example, replace old handles, add simple shelf organization, change a few decorative items, and add plants.
Replace outdated countertop accessories and introduce a small piece of wall art. You don’t have to remodel the whole kitchen. Sometimes changing one major element can make the entire space feel different.
Common Mistakes to Avoid
- Skipping cleaning.
- Paint over grease and dirt is unlikely to give you a durable finish.
- Applying very thick coats.
- Thick paint can take longer to dry and may leave visible brush marks or drips.
- Painting without testing.
- Some cabinet surfaces are more difficult to paint than others. Test your chosen system first.
- Rushing the drying time.
- Touch-dry doesn’t necessarily mean fully cured.
- Forgetting the protective finish.
- Kitchen cabinets experience much more wear than decorative furniture.
- Reinstalling hardware too early.
- Give the paint and topcoat enough time to cure according to the manufacturer’s instructions.
- Ignoring damaged cabinets.
How to Make Your Makeover More Budget-Friendly
A cabinet makeover will still become expensive if you replace everything. To keep costs under control, reuse the existing handles if they’re still in good condition. Buy only the amount of paint you need and try reusing old drop cloths or sheets to protect your work area.
Use leftover paint for a small accent project if the product is suitable. Don’t replace cabinets that will simply be repaired. The whole idea is to give your existing kitchen a new life rather than creating unnecessary waste.
Is Chalk Paint Right for Every Kitchen Cabinet?
The success of a painted cabinet makeover depends on the existing material, condition, preparation and the paint system you choose. So, the chalk paint not necessarily will be suitable for every kitchen cabinet.
Before committing to the entire kitchen, test your preparation and paint on one door or an inconspicuous section. If your cabinets are laminate, thermofoil, heavily glossy, damaged or made from a material you’re unsure about, pay particular attention to the manufacturer’s recommendations.
A kitchen makeover doesn’t always have to begin with demolition. Sometimes, a good clean, a little preparation and a few coats of the right paint will give an old set of cabinets a completely different personality. And that’s what makes a chalk paint kitchen cabinet makeover so appealing for a DIY project. You get to keep the kitchen you already have while giving it a fresh start. So before you decide that your cabinets need to be replaced, take a second look at them.
Maybe they don’t need a new kitchen.
Maybe they just need a little wonder.


Leave a Reply