
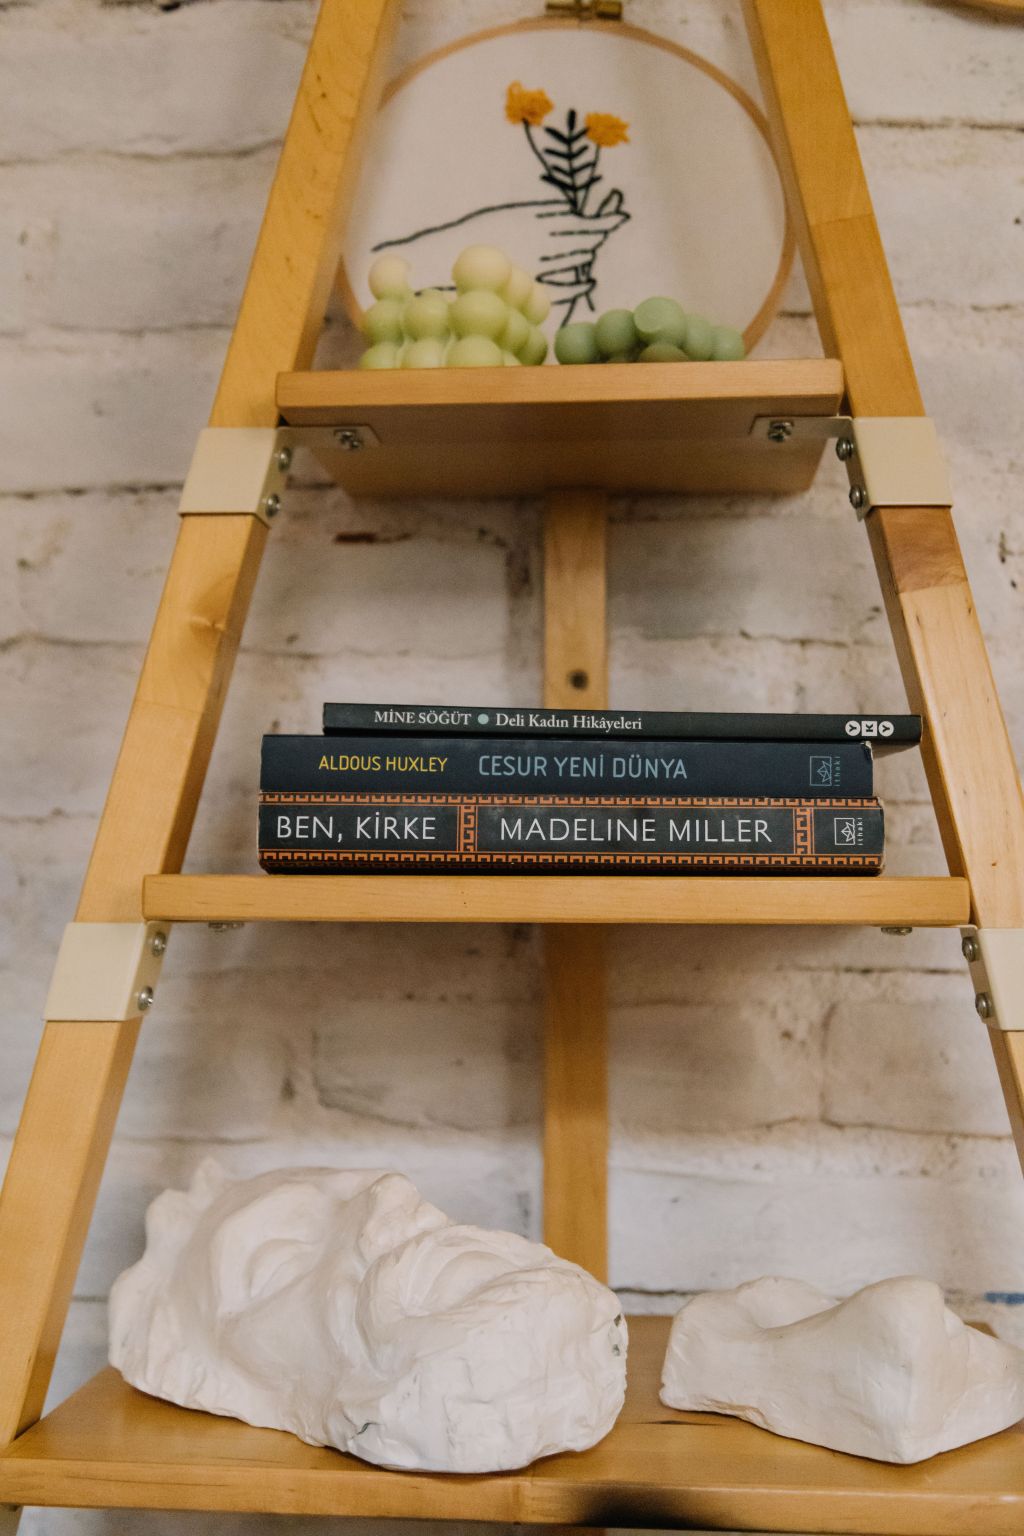
Your old ladder can be the most useful and aesthetic item in the room. You can place your favorite books. It is the most interesting way of using your creativity.
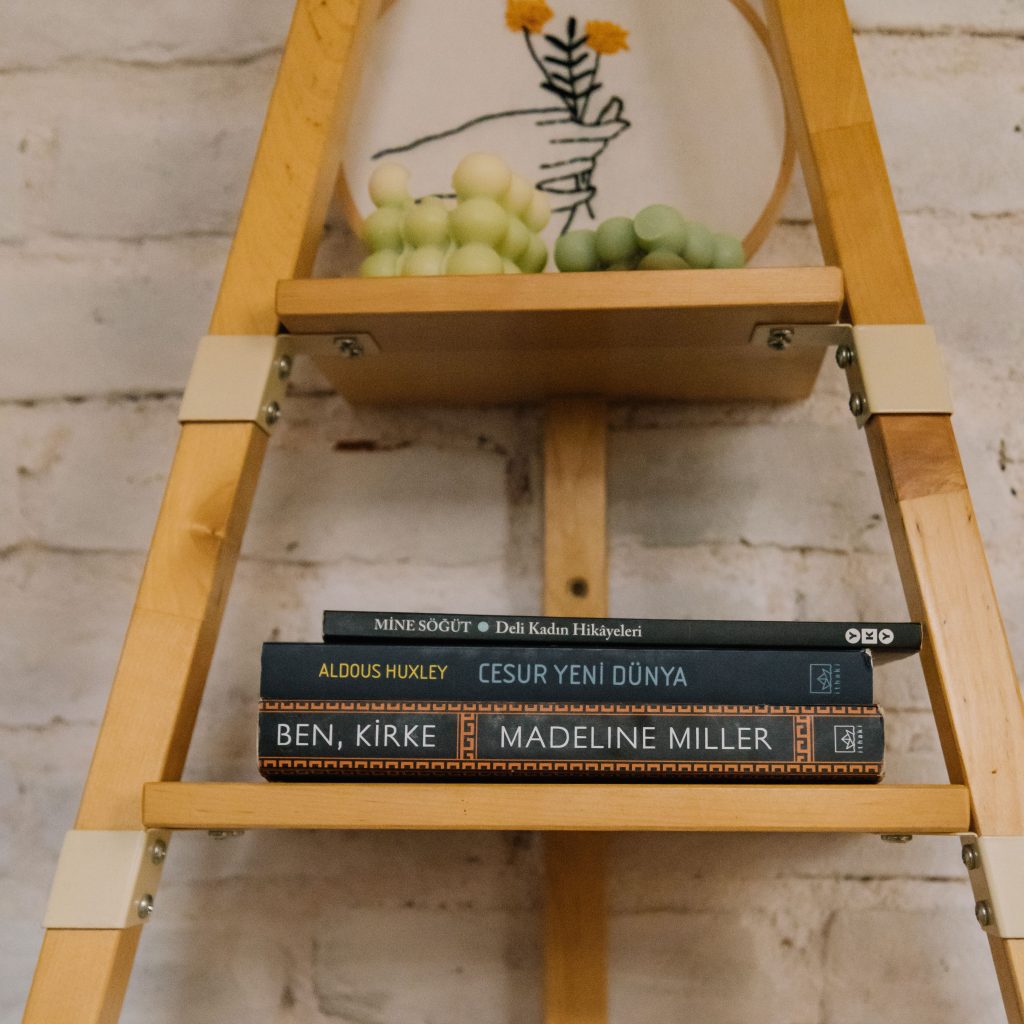
Give your old wooden ladder a stylish second life with this simple DIY bookshelf idea. Here, you will learn how to clean, paint, add shelves, and style a ladder bookcase. You only need to do little cleaning, sanding, and painting. And then add a few wooden boards that will complete your DIY, which gives character to your home.
Ladder shelving is also useful when you want vertical storage in your room without taking up too much floor space.
Safety note: Use a sturdy ladder that is in good structural condition. Don’t use the one with cracked rails, loose rungs, severe rot, or other damage. Once converted into furniture, secure the bookshelf properly so it cannot tip over because of the weight.
What You’ll Need
You already know that we need a ladder, but before giving it a cut, read the article first and then start with your DIY to get the exact measurements.
The amount and size of wood you need will depend on the ladder you’re using and how wide you want the shelves to be. Please measure the space first wherever you are deciding to add the bookshelf and then cut the shelves to suit the ladder rather than following universal size.
Collect all these items:
- 1 sturdy old wooden ladder
- Wooden boards or planks for shelves
- Sandpaper
- Wood filler, if necessary
- Primer
- Wood paint or wood stain
- Wood screws
- Small brackets or shelf supports
- Wood glue, if needed
- Anti-slip pads or rubber feet
- Clear protective finish—optional
- Tools
- Measuring tape
- Pencil
- Screwdriver
- Drill
- Level
- Paintbrush or roller
- Safety glasses and mask
- Protective gloves
Pick and Inspect the Right Ladder
Wear your gloves and mask, then start the procedure. Always opt for a sturdy wooden ladder and check both the side rails and every rung carefully. Your ladder should not wobble, have major cracks, or show signs of serious rot.
If it has old paint, inspect it before sanding. You can also use the chemical stripping method.
Chemical Stripping: To do this, apply a thick layer of citrus-based paint stripper using a disposable brush. Then cover the ladder with plastic wrap to stop the product from drying out too fast. Let the paint bubble and soften; usually it takes between 15 minutes and an hour. Scrape off the loose paint gently with a plastic or dull metal scraper, moving along the wood grain.
Clean the Ladder
The chemical stripping method is for the ladders, which have old paint. Otherwise, after choosing your right ladder, remove the dust, cobwebs, dirt, and loose debris.
Use a slightly damp cloth or an appropriate wood-cleaning method and allow the ladder to dry completely. If there is loose or peeling paint, remove it carefully before refinishing.
Sand the Rough Areas
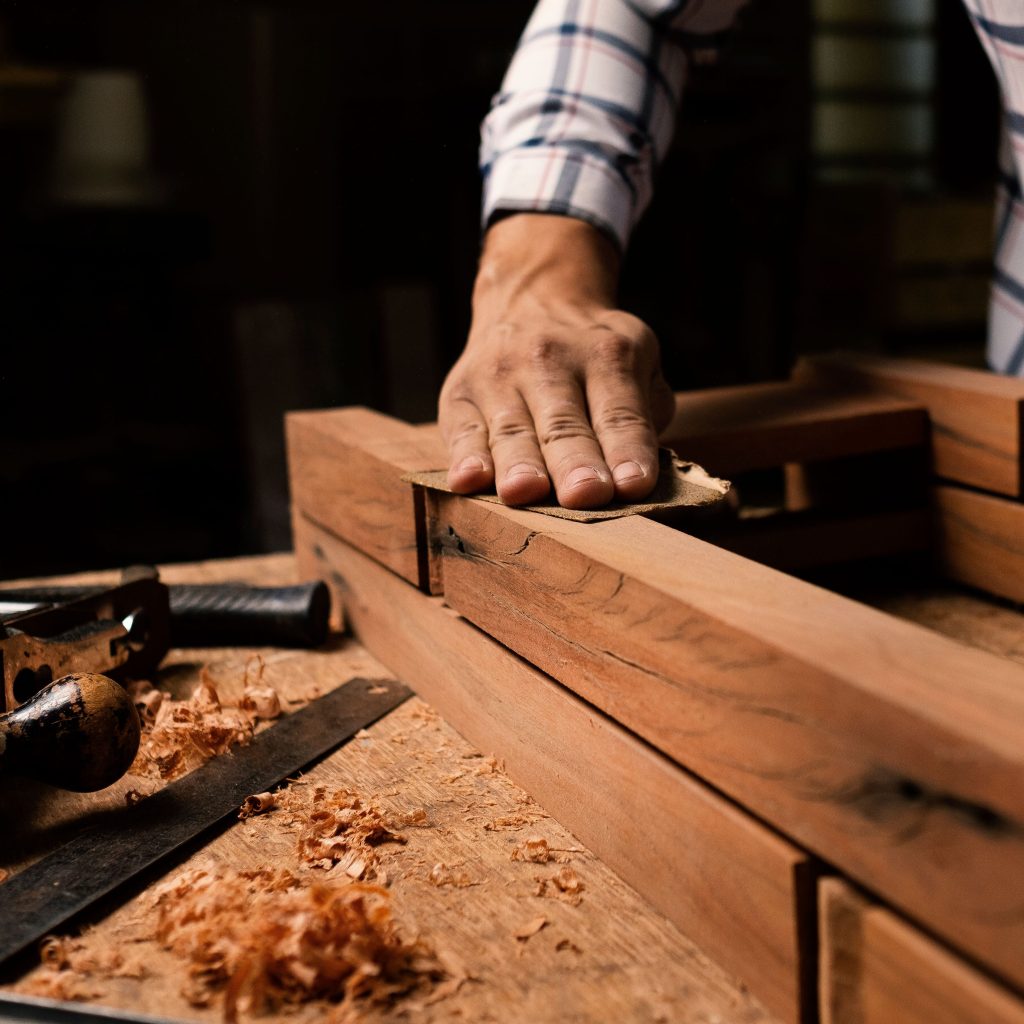
Once your ladder is clean and dry, sand rough areas and splinters until the surface feels smooth. Recheck the edges of the ladder, the rungs, and any damage or peeling sections.
If you like the rustic look of your ladder and suit your room aesthetics, let some of the originality be visible. But sandpaper those areas where your hands may touch and recheck for any nails that might hurt you.
Decide Where the Shelves Will Go
Now comes the fun part, which you have been waiting for. Lean the ladder against the wall and decide how many shelves you want.
You can create many looks with this ladder according to your room paint and vibe. For a simple rustic look, keep the original wood finish and add natural wooden shelves. Whereas for the modern look, paint your ladder white, black, beige, or another neutral shade.
You can create a colorful look by painting the ladder with bold and funky colors on it while keeping the shelves natural. And for a vintage look, use a wood stain and leave some of the original imperfections visible.
Measure the distance between the rungs and the width available for each shelf before cutting your boards.
Prepare the Wooden Shelves
Measure each shelf carefully; depending on the ladder’s shape, the shelves may need to be different lengths or widths. Some ladder designs naturally become narrower toward the top, so don’t assume every shelf should be identical.
Cut the boards to size or have them cut at a hardware store if you don’t have the necessary tools, then sand all the edges.
Tip: If you’re a beginner, getting the boards professionally cut will make this project much easier and safer.
Paint it or Stain Everything
You can now transform the appearance of your ladder by applying the primer if the paint you selected requires it. After that, apply your paint in thin, even coats.
Allow each coat to dry before applying the next one.
For a natural bookshelf, skip the paint and use a suitable wood stain or clear protective finish instead.
Add the Shelves

Place your boards across the ladder rungs and make sure each shelf is level and sits securely. Depending on your design, you can use small brackets, wooden supports, screws, wood glue, or a combination of supports and fasteners.
You can intentionally leave the shelves removable, making the furniture easier to move or permanently secure the shelves for additional stability.
For a bookshelf carrying several heavy books, don’t rely on gravity alone. Secure the shelves appropriately.
Secure the Bookshelf
This is one of the most important steps. Your ladder bookshelf can be top-heavy, especially when loaded with books.
Position it on a stable, level surface and consider securing it to the wall using appropriate hardware for your wall type.
Check that it doesn’t wobble before putting anything on it.
Style Your New Bookshelf
Now you can turn your DIY project into the most beautiful piece of home décor.
On this bookshelf, along with your favorite book, you can also place small plants, decorative objects, small photo frames, and storage baskets and hang fairy lights around the bookshelf to give it an aesthetic look.
Don’t fill every shelf completely. Leave a little empty space that will make the bookshelf look more intentional and less cluttered.
Styling Ideas

Living room: use books, plants, candles, and small decorative pieces.
Bedroom: add books, photographs, small plants, and a warm string of lights.
Home office: keep your books, notebooks, stationery baskets, and a few decorative objects.
Kid’s room: place colorful baskets and children’s books—but make sure the entire unit is securely anchored and that children cannot climb on it or hang it.
Turn your old ladder into a bookshelf, which will be more than just a decorating project in your home. You have created this useful wonder, which would have been discarded earlier, but now it has turned into useful furniture. You can also customize according to your room, color scheme, and storage needs.
Perhaps the best part is that your bookshelf doesn’t have to look perfect.
The little scratches, knots, marks, and imperfections in an old ladder can become part of its charm. That’s exactly what Blunder to Wonder is about—turning imperfect things into something beautiful and useful.


Leave a comment